
Sword of the Sea Walkthrough: Chapters and Collectibles
Use this Sword of the Sea walkthrough to restore water, find secret shells, unlock vendor rewards, and prepare for Tornamun and a New Game Plus speedrun.
Jump to
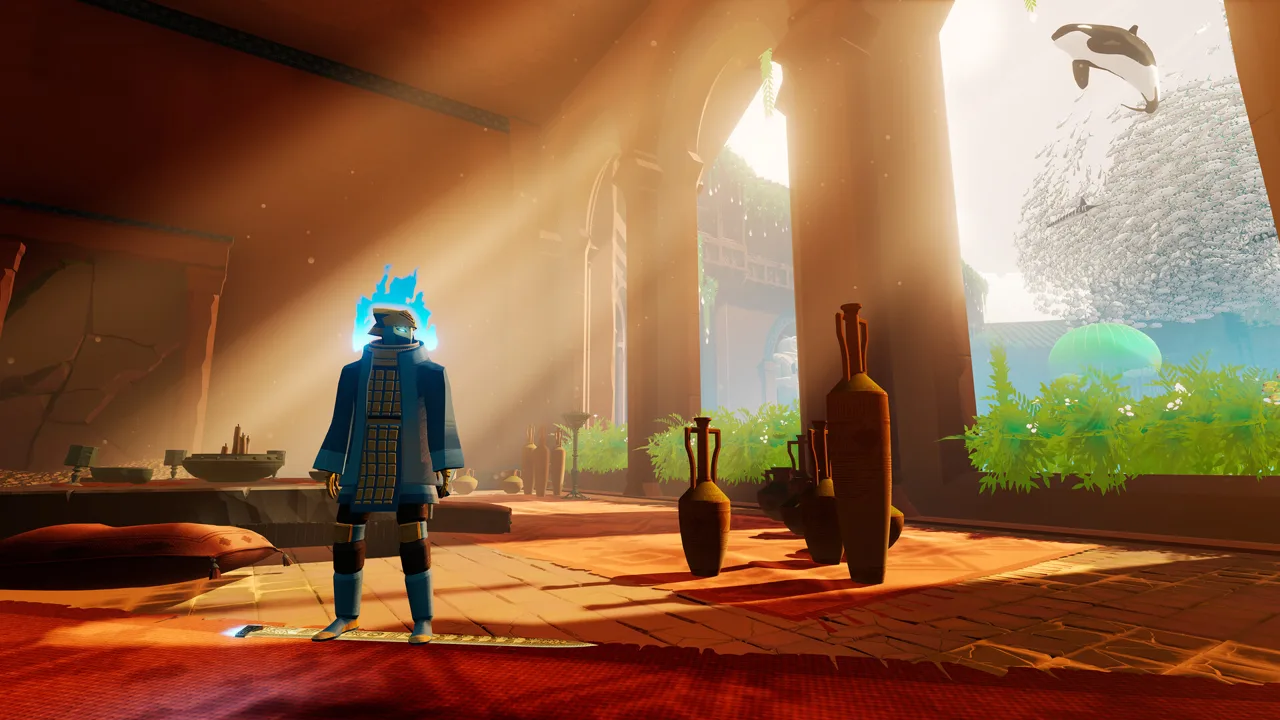
Veiled Sea: Restore All 10 Water Points
Restoring the ocean opens up more than the path forward—it brings back creatures to ride and new ways to reach hidden places. This Sword of the Sea walkthrough covers the opening water-point route, later chapter objectives, collectibles, and the path into New Game Plus. Finish your exploration before chasing the two-hour speedrun so you can bring your unlocked abilities into that run.
Follow the Water-Point Route
-
Activate the opening water point. Move through the introductory section until the title appears. In the open area beyond it, climb the sandy rise from either side and interact with the water point in the middle.
-
Climb the lantern-ringed pillar. After meeting the merchant and entering the larger area, turn left and search behind the large rocks. Activate the lanterns around the pillar, then bounce up the jellyfish that appear to reach its water point.
-
Enter the cave behind the falling sand. Descend and take the newly restored water route to the right. Follow the rock wall to a sand waterfall with a cave entrance, then activate the water point inside.
-
Uncover the buried temple. Leave the cave, follow the watery slope downhill, and jump from the ramp. Activate the lanterns on the left to reveal a temple entrance. Inside, activate another lantern group, then take the passage on the left and loop up to the elevated water point.
-
Take the route beside the mural. After restoring the temple’s water, follow the newly opened passage to the right of the mural. Bounce across the jellyfish to reach another open area and its water point.
-
Reach the castle’s upper level. Return to the main area and follow the rocky route through the columns and ramps. Use the ramp leading upward, activate the lanterns, and climb toward the castle using platforms and jellyfish. Inside, activate the central lantern group and use the summoned jellyfish to reach the water point above.
-
Search beside the castle chains. Grind down the chains toward the lower area. Look to the right for a rock formation containing lanterns. Activate them to restore water around a large animal skeleton.
-
Follow the golden door’s right-hand chain. Face the golden door and follow the chain on its right. Activate the water point beneath the green door at the far end.
-
Climb through the green doorway. Use the newly available kelp to rise to the doorway. Follow the passage and activate the water point at its end to clear the blocked route.
-
Open the final building’s gate. After leaving the small cavern, activate the blue floor button to uncover a building. Its water point sits behind a gate controlled by two golden lanterns. Find one on the roof above the blue halfpipe; reach the other inside the upper tower using the jump pad on the right. Activate both, restore the final water point, and return to the golden exit door.
Restoring every water point earns Cleanse the Veiled Sea.
Meet the Vendor and Start Buying Abilities
Collect Tetra from the environment, treasure chests, glowing blue fish tiles, and Trick Attack rewards. Fish tiles often sit on rooftops, statues, and other elevated surfaces; land on them to collect their Tetra.
The vendor’s rewards arrive in this order:
| Reward | Tetra cost | Cumulative Tetra |
|---|---|---|
| Tricks | 50 | 50 |
| Spin Tricks | 500 | 550 |
| Drop | 1000 | 1550 |
| Super Jump | 2000 | 3550 |
| Secret Shell | 5000 | 8550 |
Keep trading as you encounter the vendor along the main route. You can finish the purchases through Chapter Select or New Game Plus if you leave the first adventure short of Tetra.
Before Leaving
- Ride an orca: Restoring the castle water point associated with the exit’s left chain brings them back. Jump onto an orca, ride it, then jump off for Orca Rider.
- Find the desert rain frog: After activating the sphere water point associated with the right chain, use the kelp behind the building to reach the waterfall’s top. Follow the cliffs right, then descend the projecting stone platforms to the lowest level near the group of four.
- Activate the Trick Attack area: Interact with its stone pillar so the hourglass appears. Its target score is 8000.
- Search for secret shells and read stele messages before moving on.
Official page: Sword of the Sea (swordoftheseagame.com)
Lost Grotto: Reach the Rooftop Water Point
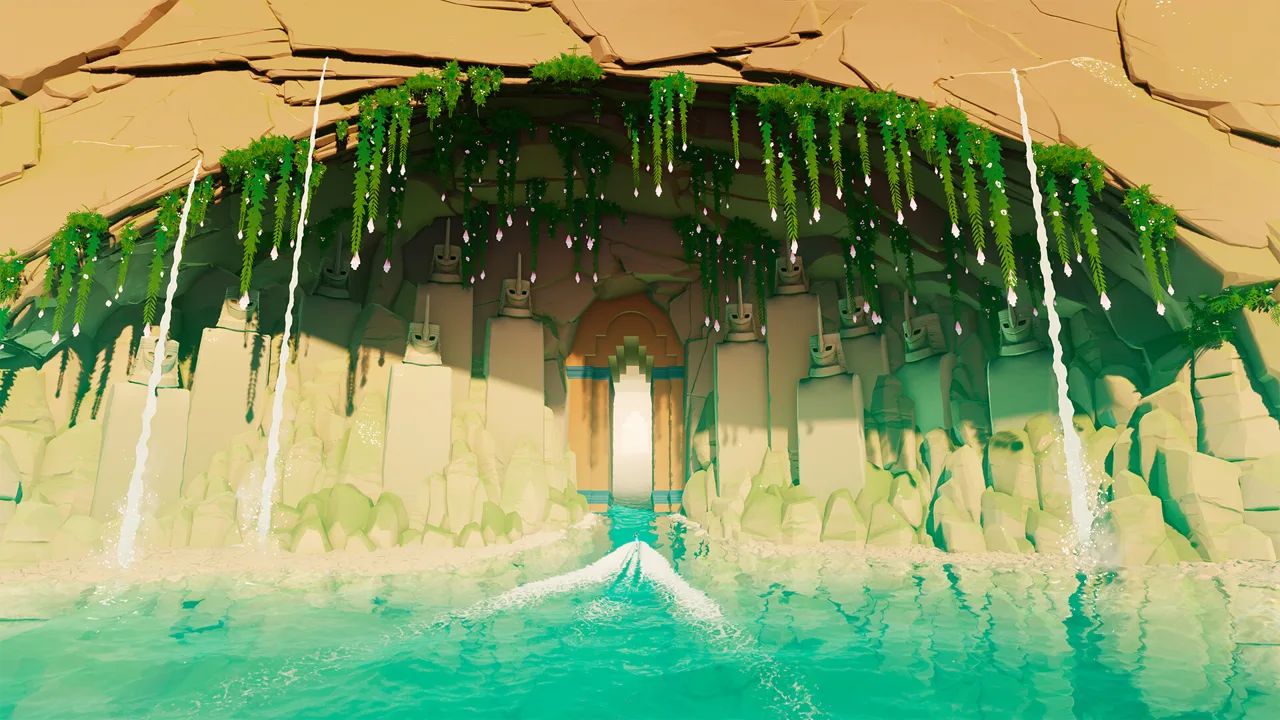 Image: Steam / Giant Squid
- Work through the four switches. Continue into the area beyond them and climb the building containing the main rooftop water point.
- Restore water from the roof. Activating this water point opens the way to finish the chapter and brings back the large Archelons.
- Ride an Archelon. Jump onto one of the large turtle-like animals, then dismount for Archelon Rider. The smaller turtles encountered earlier do not satisfy this achievement.
- Search behind the shark statue. Stay on the rooftop after activating the sphere water point that controls the exit chain. Behind the large shark statue, look down for a narrow roof extending toward a stone pillar. Cross it and jump up the pillar’s ledges to reach the bullfrog.
Before Leaving
- Find and activate the chapter’s Trick Attack pillar, then beat 10,000 points.
- Explore for secret shells and stele messages.
- Restore the optional water points as well as the main one to earn Cleanse the Lost Grotto.
For Trick Attacks, alternate aerial tricks and extend the combo through wall rides, grinds, or jellyfish bounces. Move between different jellyfish: repeatedly bouncing on the same one does not increase the multiplier. Land to finish the combo.
Forbidden Valley and Shadow Tundra: Collect the Shell, Then Explore the Snow
 Image: Steam / Giant Squid
Forbidden Valley
- Find the chapter’s single secret shell. Keep that collectible on your checklist before moving into Shadow Tundra.
- Return all water to the area. Completing its water restoration earns Cleanse the Forbidden Valley.
Shadow Tundra
- Restore water around the large statue. This brings back humpback whales. Ride one and dismount to earn Humpback Rider.
- Search the boost-wisp area for the optional cave. Beyond the statue and pillar-room section, use the hill, boost wisps, and jellyfish launch to reach the elevated doorway. Restore the water inside to bring back the Elasmosaur, then ride it for Elasmosaur Rider.
- Reach the horned frog’s platform. After activating the first golden bell and entering the large open area, head toward the back. Find the ramp aimed at the tallest central platform, then combine a boost with a charged jump to reach the frog.
- Complete the local Trick Attack. Activate the pillar and beat 10,000 points.
The boost-wisp terrain also gives you an opportunity to attempt Long Distance Jumper. Build speed uphill toward a launch platform, then boost into a jump aimed down the slope toward the lower ground.
Before Leaving
- Visit the optional cave for the Elasmosaur.
- Collect the horned frog beside its stone stack.
- Search for secret shells and stele messages.
- Restore all water for Cleanse the Shadow Tundra.
Frozen Drifts: Gather Tetra Along the Route
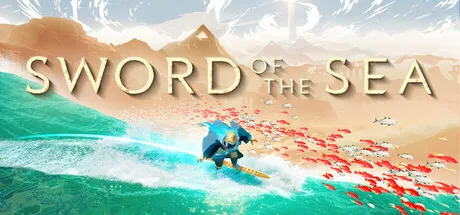 Image: Steam / Giant Squid
- Activate optional water points as you advance. Include them in your route toward Cleanse the Frozen Drifts.
- Break crystals and collect the Tetra they release. Combine these pickups with the Tetra generated through water restoration.
- Find the chapter’s single secret shell. Keep it separate from your currency sweep so it does not get overlooked.
Frozen Drifts is a useful chapter to replay when you still need vendor purchases. Its water points and breakable crystals provide Tetra throughout the route, and Tetra sources become available again during chapter replays and New Game Plus.
Before Leaving
- Collect the secret shell.
- Finish optional water restoration.
- Gather nearby Tetra toward the vendor’s 8550 cumulative requirement.
Sacred River: Use Water Rails and Restore the Ships
- Practice water rails near the opening. Bounce from a jellyfish and triple jump to trigger a rail. For Water Rider, jump off the rail, return to the jellyfish, and repeat until you have used four water rails without touching the ground.
- Restore the water that raises yellow kelp. This also brings back sperm whales. Ride one and dismount for Sperm Whale Rider.
- Raise the chained ship. At the two smaller ships chained to a larger vessel, activate the buttons to lift the ship and restore water. Ride one of the whale sharks that appears for Whale Shark Rider.
- Search above the boat’s water point. After activating the sphere water point on top of the boat, use kelp or grind the chain to reach the first pillar the chain passes through. Jump and use a water rail toward the cliff with a boat in the direction the chains extend. The poison dart frog is there.
- Reach the floating island and restore its water. Use your water traversal ability to get up to it. Ride one of the blue whales that appears for Blue Whale Rider.
- Complete the final Trick Attack area. Activate its pillar and beat 10,000 points.
Before Leaving
- Find the poison dart frog.
- Ride the sperm whale, whale shark, and blue whale.
- Search for secret shells and stele messages.
- Restore every water point for Cleanse the Sacred River.
Sacred River also provides Tetra through its main and optional water restorations. Collect the spawned currency while exploring if you still need vendor rewards.
Boiling Cavern: Search the Boats Before the Door
- Reach the large door with the water sphere in front of it.
- Turn right and cross the boat. Continue upward toward the boat on the tall platform.
- Inspect the lantern on top. Approach the frog skeleton there to collect it.
- Search for the chapter’s five secret shells before continuing toward the finale.
Before Leaving
- Collect the frog skeleton.
- Find all five secret shells for Boiling Cavern Shell Collector.
Sky Abyss: Face Tornamun
Finish the encounter once before attempting a damage-free run. Untouchable requires defeating Tornamun without taking a single hit, and the fight spans the final chapter without checkpoints.
- Watch for falling rocks while climbing the tower. The first rock wave comes after the opening arches, near a broken section of tower. Drop into the center below the platforms to avoid it. The next wave arrives around the section with boost spots encircling the tower; steer through the gaps between rocks.
- Rotate away from the laser in the final water tube. You can travel around the tube, so move around its circumference to leave the laser’s path.
- Separate partial fire waves from full rings. Move into an open section when a fire wave covers only part of the tube. Use a charged jump when a ring stretches across the entire tube.
- Continue through the credits. Completing the adventure and viewing the credits earns Sword of the Sea. A successful damage-free clear awards Untouchable after the credits.
If you take damage during an Untouchable attempt, restart the final chapter for another attempt. Use Chapter Select after your first completion to practice the encounter.
Chapter Select and New Game Plus: Finish the Remaining Goals
Chapter Select unlocks after finishing the story. Collectible progress carries into chapter replays and New Game Plus, so use chapter replays to finish exploration before starting a continuous speedrun.
Two updates make cleanup easier:
- The September 19, 2025 update added a collectible tracker to Chapter Select and a pause-menu tracker in New Game Plus.
- The September 23, 2025 update fixed an achievement-awarding issue when starting the final level through Chapter Select.
Complete the Secret Shell Collection
There are 49 shells across the chapters, plus the vendor’s final shell, for 50 total.
| Chapter or reward | Secret shells |
|---|---|
| Veiled Sea | 10 |
| Lost Grotto | 11 |
| Forbidden Valley | 1 |
| Shadow Tundra | 10 |
| Frozen Drifts | 1 |
| Sacred River | 11 |
| Boiling Cavern | 5 |
| Vendor’s final reward | 1 |
| Total | 50 |
Collecting all 50 earns Water Whisperer and unlocks water rails throughout the game, extending that ability beyond Sacred River.
Read all 23 stele messages for Wisdom of the Ancients. A stele’s yellow lettering disappears after you read it during a level, but that visual state resets in Chapter Select and New Game Plus. Keep track of individual messages while searching.
Combine the Speedrun With Score Goals
- Finish your vendor purchases and collectible cleanup. Bring the unlocked abilities into New Game Plus.
- Select New Game Plus explicitly. Complete the adventure in that mode without switching into Chapter Select; doing so resets the current playthrough’s progress.
- Finish in under two hours. This earns Speed Surfer and applies a 2x completion-score bonus.
- Build at least 500,000 points during the run to reach 1,000,000 after that bonus and earn Great Score.
- Beat your previous completed-run score for New High Score. If your earlier total is already high, build additional combos before finishing.
- View the credits to earn New Game Plus Completed.
Use groups of jellyfish for score building: bounce between different jellyfish, alternate aerial tricks, and land to bank the combo. New Game Plus lets you enable the score and combo display during regular exploration, making it easier to track attempts at Nice Combo!, Cool Combo!, and Awesome Combo!, which require 5x, 10x, and 20x combos respectively.
Continue with
 Sword of the Sea Beginner Guide: 9 Tips to Start StrongUse this Sword of the Sea beginner guide to master Hoversword movement, earn Tetra, unlock tricks, find secret shells, and plan your adventure with ease.
More in Guide
Sword of the Sea Chapter Select: Unlocks & Replay Guide
Unlock Sword of the Sea chapter select, revisit all eight chapters, track missing collectibles, and avoid replay mistakes during your New Game Plus run.
Sword of the Sea Discord: Community and Help Guide
Looking for Sword of the Sea Discord? Find official starting points, get help with collectibles, and explore the latest gameplay updates for PC and PS5.
Sword of the Sea How Long to Beat: Story & 100% Time
Sword of the Sea how long to beat guide: compare story and completion times, plan your New Game+ run, and cut down collectible and trophy cleanup time.
Sword of the Sea How to Save: Slots and PC Backups
Open the pause menu to access saved progress in Sword of the Sea. Resume your file, copy save slots, and back up Windows saves with Steam Cloud.
Continue exploring
Join the community
Official channels for news, updates and player help: