
Sword of the Sea Shells: All 50 Locations and Rewards
Find all 50 Sword of the Sea shells with chapter-by-chapter locations, vendor Tetra costs, and tips to unlock Water Whisperer and water rails anywhere.
Jump to
How Many Shells Are There, and What Do They Unlock?
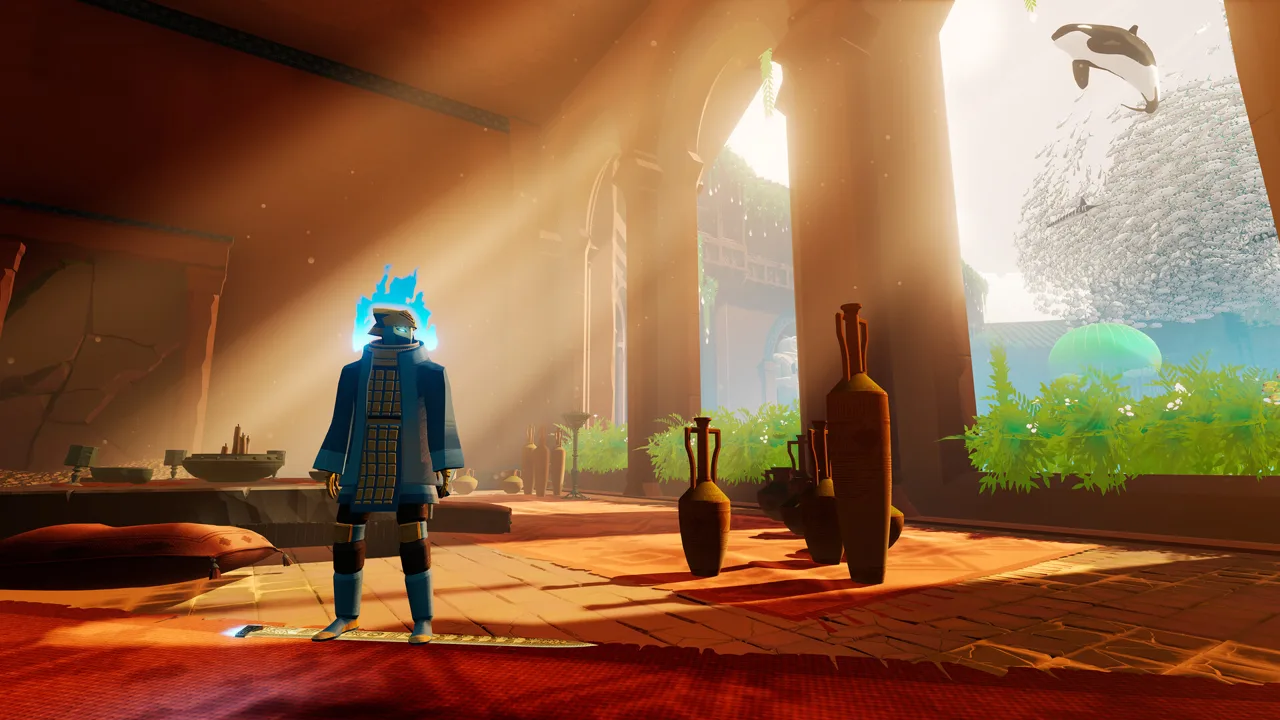
Sword of the Sea shells reward those detours behind waterfalls, beneath bridges, and above the main path. Collecting all 50 secret shells unlocks Water Whisperer and lets you use water rails in every level, extending the movement ability introduced in Sacred River. There are 49 shells hidden across seven chapters, plus one earned through the vendor’s final trade.
Shells glow white and are collected when you move close to them. Each chapter’s complete set also earns its corresponding Shell Collector trophy or achievement.
| Area | Shell numbers in this guide | Shell count |
|---|---|---|
| Veiled Sea | 1–10 | 10 |
| Lost Grotto | 11–21 | 11 |
| Forbidden Valley | 22 | 1 |
| Shadow Tundra | 23–32 | 10 |
| Frozen Drifts | 33 | 1 |
| Sacred River | 34–44 | 11 |
| Boiling Cavern | 45–49 | 5 |
| Vendor’s final reward | 50 | 1 |
| Total | 1–50 | 50 |
Track missing shells before replaying a chapter
The September 19, 2025 update added a collectible tracker to Chapter Select and another to the pause screen in New Game+. It also fixed an incorrect collectible count that could prevent an associated trophy from triggering.
After finishing the story, use Chapter Select to collect anything you missed. Collectible progress carries over into Chapter Select and New Game+, so you can finish your collection without finding everything during your initial adventure.
Restore each area’s water before searching its upper and lower edges. Water points reveal traversal aids such as kelp, jellyfish, wall rides, and rideable sea creatures that lead to several shells.
Shell 50: The vendor’s final trade
The vendor’s shell costs 5,000 Tetra at the final reward tier, but reaching that tier requires 8,550 Tetra in total.
| Reward tier | Tetra cost | Cumulative cost |
|---|---|---|
| Tricks | 50 | 50 |
| Spin Tricks | 500 | 550 |
| Drop | 1,000 | 1,550 |
| Super Jump | 2,000 | 3,550 |
| Secret Shell | 5,000 | 8,550 |
Open treasure chests, collect glowing fish tiles, and beat Trick Attack high scores while exploring to build your Tetra supply. Chests and tiles become available again in Chapter Select and New Game+, while vendor progress carries over.
If you finish every chapter’s shell set and remain at 49/50, finish the vendor’s trades. The vendor appears along the main route in multiple areas, so you can trade at later appearances.
Official page: Sword of the Sea (swordoftheseagame.com)
Veiled Sea: Shells 1–10
The opening chapter spreads its shells between the merchant’s halfpipe, the orca tower, and the cliffs around the two-chain puzzle. The numbers below identify locations in this guide; use the landmarks to navigate.
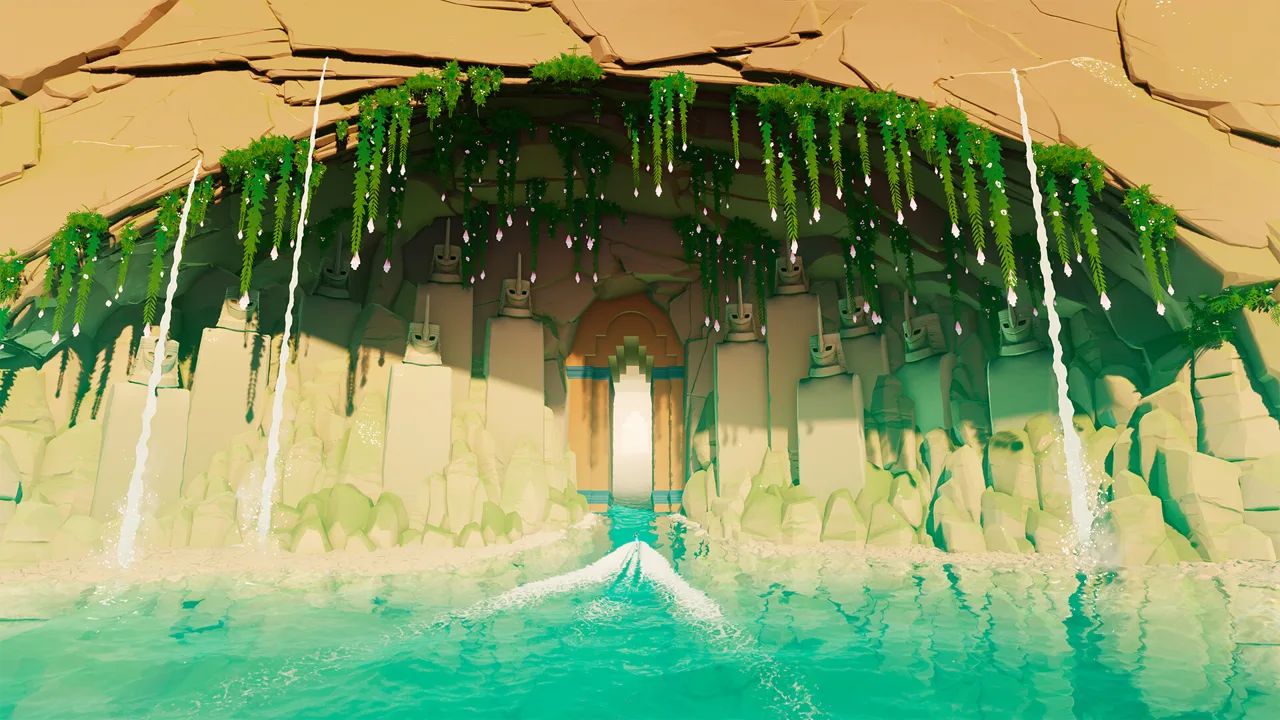 Image: Steam / Giant Squid
Shells 1–3: Halfpipe and left-side caves
-
Halfpipe wall opening. At the halfpipe below your first encounter with the vendor, inspect the wall on the left. Enter the opening to collect the shell inside.
-
Cave beside the waterfall. In the large area with two chains, follow the left wall to the pillar surrounded by lanterns. Light them, bounce up the jellyfish, and activate the water point. Return to the bottom of the pillar and face the waterfall beneath the stele. The shell is in the cave on the waterfall’s right.
-
Wall ride beyond the mural cave. Continue along the left wall to the lanterns on a slope. Activate them to reveal an entrance, then light the lanterns inside to lower the sand. Take the left cave passage to the water point near the large mural. Enter the small opening to the right of the stele, climb the jellyfish, and follow the passage left to another water point. Activate it, then use the wall ride that appears on the left to reach the shell platform.
Shells 4–6: Orca tower
-
Top of the left statue. After restoring the water that activates the left chain, head to the top of the building above the vendor. Find the shell atop the left orca statue. Ride a passing orca and jump onto the statue when it draws near.
-
Pillar below the outer ledge. Outside the building, face the direction the chain leads and look over the left edge. Two pillars sit below the main area. Build speed and jump to the closer pillar for the shell. Reach the second pillar afterward and interact with its opening to return.
-
Cave on the opposite side. Circle to the other side of the tower, cross the narrow waterfall, and look down for a ledge. Drop onto it and enter the cave.
Shells 7–10: Right-chain area and outer cliffs
-
Hidden wall-ride path. In the second-chain area, activate the central button to lower the sand. Follow the left wall up the cliff to a wall ride. Cross it to reach the shell.
-
Cave beside a flag. Activate the main water point for the right chain. Behind the building, use the kelp to climb the waterfall. Follow the cliff path right to the stone walkways extending over the edge. From the walkway nearer the tall cliffs, look down and left for a flag. The shell is inside the cave beside it.
-
Below the desert rain frog. Continue around the cliffs to the descending stone platforms. Drop to the lowest platform, where the desert rain frog sits on stacked rocks. Look down again for a statue, then jump to it. The shell rests on the small cliff beside the statue.
-
Sandy patch near the central area. Head back toward the main area using the chains or kelp to reach the right-side cliffs. Search the small sandy area just before the large central space.
Lost Grotto: Shells 11–21
Lost Grotto has 11 shells, with several on rooftops or tucked beneath the routes connecting them. Activate the four switches and restore the large central area before searching its buildings; the restored traversal routes make the remaining collection easier.
 Image: Nintendo
Shells 11–14: Sand waterfall, pipe, and shark statue
-
Window behind the sand waterfall. In the area with two turtle heads, climb onto the rooftops above the stele. Jump through the window behind the falling sand to reach the shell.
-
Large pipe below the floor. After progressing through the door, enter the room where a figure jumps from the far ledge. Drop into the hole in the floor. The shell is inside a large pipe at the bottom.
-
Walkway behind the rooftop stele. After activating the next water point, use the kelp to reach the rooftops. Locate the open building containing the stele, then check the walkway behind it.
-
Top of the giant shark statue. Activate the main water point that opens the exit route. Circle behind the giant shark statue and ride up its back to collect the shell at the top.
Shells 15–21: Lower rooms and rooftop cleanup
-
Open room at the lowest level. Return to the tall buildings where you activated the switches. Drop to the lowest level and search the open room inside one of the buildings.
-
Small rooftop tunnel. Grind the first chain to the buildings in the center of the area. Search the small tunnel on the rooftop where you arrive.
-
Ledge beside the isolated building. From that rooftop, follow the water path to the single building at its end. Look over the side for the shell on a ledge.
-
Cliff path above the first area. Ride the second chain back toward the first area. From the rooftop beside the chain, climb the cliff on the left and follow the path to its end.
-
Open building section near the wall. Follow the rooftops from the chain pillars toward the beginning of the area. Check the open section of the building beside the wall.
-
Cave above the large wall ride. In the first area, reach the rooftops near the large wall ride. Use the kelp to climb onto the ledge above it, then follow the path into a cave.
-
Cave beside the exit building. Follow the chain toward the end of the area. Before entering the building, jump around the ledges on its right side. The shell is in the small cave at the end.
Forbidden Valley: Shell 22
Forbidden Valley contains one shell, reached by taking a side route in the three-water-crystal section.
 Image: Steam / Giant Squid
- Shell 22 — Pillar beyond the green crystals. After the first water crystal, climb to the second level. Before activating the lanterns leading toward the next crystal, take the path around to the right and climb the ledges. At the top, activate the lanterns between the green crystals. Bounce on the jellyfish that appears to reach the distant pillar and collect the shell.
Shadow Tundra: Shells 23–32
Shadow Tundra holds 10 shells. Its early secrets use statues and caves, while the later ones require boost-assisted jumps between distant platforms.
Shells 23–26: Statues and ice passages
-
Sword tip on the fifth statue. At the fifth statue—the second after the stele—climb the ledges on its back. Continue along its arm to the sword and collect the shell at the tip.
-
Sword tip on the giant statue. In the giant-statue area, activate the chain attached to its hand. Grind up the chain, then reach the tip of its sword.
-
Cave beside the ice slide. In the ice-slide section, stay right near the group of six statues. Search the small cave between the first and second statues on that side.
-
Gap between the final pillars. After the tube, enter the hall lined with pillars. The shell is on the right, between the third- and fourth-to-last pillars.
Shells 27–28: Boost platforms and bone cave
-
Distant platforms near the entrance. In the area introducing boost wisps, gather several from the lit pillars; you can carry up to five. Move toward the top of the area and look back toward the entrance. Left of the shark statue, use a boost and the jellyfish to reach the platform with a chest. From there, boost and jump to the pair of platforms nearer the entrance. The shell is at the end of the farther one.
-
Skull above the water point. Use the jellyfish to the left of the previous jump route to reach the distant doorway. Enter and follow the bones to the water point. Look inside the skull directly above it for the shell.
Shells 29–32: Two-bell area
-
Behind the shark statue’s arm. At the platform with the left gold bell, circle behind to the stele inside the shark statue’s chest opening. Jump around the statue’s left arm to reach the shell on a ledge behind it.
-
Rock recess near the round structure. From the entrance to the two-bell area, follow the right wall through the round rock structure. Search among the rocks on the left after passing through.
-
Top of the round rock structure. From the previous shell, turn back toward the round structure. Use the snow ramp on its left, boosting into a jump to reach the top.
-
Ice corridor beside the vendor. Near the exit, look to the right of the vendor for a narrow corridor in the ice. Follow it to the shell at the back.
Frozen Drifts: Shell 33
Frozen Drifts has one shell, accessible through a side area near the end of the chapter.
- Shell 33 — Lantern-created side area. Activate the final water point that raises the giant castle from the water. Circle behind the hill with the pillar and activate the lantern group there to reveal a side area. Enter it, activate the lantern at the base of the sword, and search the side of the newly revealed area for the shell.
Sacred River: Shells 34–44
Sacred River contains 11 shells and introduces water rails. Several locations combine those rails with boats, halfpipes, and whale rides.
Shells 34–37: Interior rooms and first outdoor boats
-
Behind the opening room’s statues. After the initial lanterns, reach the stairs, turn around, and jump onto the statue with the broken head. Jump across to the back of the room. The shell is to the right of the large statue.
-
Side room off the ramp. On the ramp leading toward the next lantern group, jump backward through the break in the wall. Search the side room for the shell.
-
Upper ledge in the circular room. Restore the water at the center of the large circular chamber. Ride a sperm whale upward, then jump onto the ledge around the room above the entrance.
-
Cave by the third boat. After activating the first outdoor water point, bounce up the jellyfish to the pillar. Use water rails to cross the boats until you reach the third one, where a small cave holds the shell.
Shells 38–41: Giant ship area
-
Raised ledge beyond the wall sections. Near the back wall of the giant-ship area, find the boat beside a water-rail hint. Boost off it and grind toward the tower, landing on the last wall section. Boost, jump, and grind again to reach the raised shell location.
-
Path returning toward the entrance. From the wall sections, look left for ground curving back toward the area’s entrance. Jump down to it and follow the path to its end.
-
Broken pot inside the ship. After raising the giant ship, enter through the opening at its back. Of the two interior rooms, take the one opposite the stele. The shell is in a broken pot on the left near the wall.
-
Roof above the ship’s halfpipe. Use the halfpipe at the back of the ship to gain height. Create a water rail and reach the top of the building to collect the shell.
Shells 42–44: Floating islands
-
Opening beneath the giant island. Under the large floating island, look down and left for lanterns in front of an opening. Use the lower boat as your jumping point and drop into that opening.
-
Upper room on a smaller floating island. After restoring the water on the floating island and bringing back the blue whales, stand on the tall central platform. Locate the smaller island on the vendor’s side, then the other small island to its left. Ride a blue whale to gain height, use water rails toward the floating lanterns, and reach the island’s top room for the shell.
-
Boat on a pillar beside the bridge. Follow the newly appeared bridge toward the chapter exit. Before going all the way up, look off the right side for a boat resting on a pillar. Jump and use a water rail to reach the shell on top.
Boiling Cavern: Shells 45–49
Boiling Cavern’s five hidden shells sit around lava routes, rock ledges, and the skeleton-grinding room. Check behind pillars and along the outer walls as you move between boats.
-
Shell 45 — Behind the left pillar. At the first area with boats floating in lava, jump around the back of the pillar on the left. The shell sits on a small ledge.
-
Shell 46 — High ledge beyond the first bubble door. Open the first door using the water bubble. Climb the rocks on the right behind the stele, follow the route clockwise around the room, and jump across to the far upper ledge.
-
Shell 47 — Cave reached from the sideways boat. In the next lava-boat area, find the boat lying sideways near the stele on the right. Jump onto it to reach the ledges, then follow them right into a small cave.
-
Shell 48 — Narrow corridor near the area’s start. In that same area, return toward the beginning and look left for a round platform. Beyond it is a thin passage through the rocks. Jump through to reach the shell at the back.
-
Shell 49 — Ledge behind a statue. In the room with grindable skeletons behind the stele, jump onto the ledge behind a statue to collect the chapter’s final shell.
Continue exploring

Sword of the Sea Vendor Rewards: All Costs & Unlocks
Sword of the Sea vendor rewards cost 8,550 Tetra in total. See every purchase, earn currency faster, and get the final secret shell for full completion.
Sword of the Sea Beginner Guide: 9 Tips to Start Strong
Use this Sword of the Sea beginner guide to master Hoversword movement, earn Tetra, unlock tricks, find secret shells, and plan your adventure with ease.
Join the community
Official channels for news, updates and player help: