
Sword of the Sea Forbidden Valley: Shell & Water Guide
Explore Sword of the Sea forbidden valley, find its hidden shell, restore every water point, and follow the dolphin route without missing the final detour.
Jump to

Where to Go and What to Collect
The Sword of the Sea Forbidden Valley route hides its only secret shell near the end, just before you leave the chapter behind. Follow the water-restoration path on the Great Dolphin, then take the elevated side route in the three-crystal chamber to reach it. Collect the shell before riding the exit geyser so you won’t need a return trip through Chapter Select.
Forbidden Valley is the third chapter, between Lost Grotto and Shadow Tundra. Its mostly linear layout revolves around activating lantern groups, breaking water crystals, and bouncing on jellyfish to reach higher platforms.
Two trophies cover the main collection objectives:
- Cleanse the Forbidden Valley: Return all water to the area.
- Forbidden Valley Shell Collector: Pick up the chapter’s single secret shell.
Several lantern groups sit beside the main route. Check those branches before taking the next upward jump.
Official page: Sword of the Sea (swordoftheseagame.com)
Opening Route: Lanterns, Sandfalls, and Pillars
The opening stretch introduces the dolphin’s traversal through a sequence of water trails and elevated lantern patches. Follow this order to cover the side paths along the way:
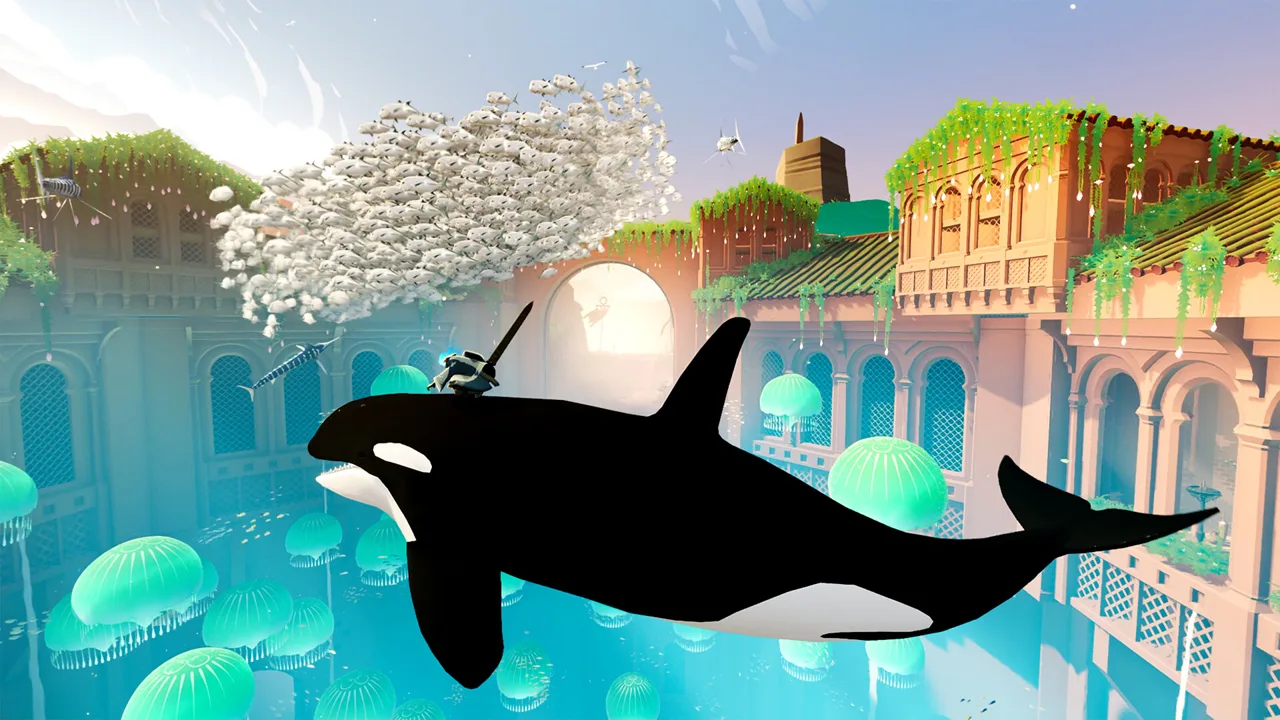 Image: Steam / Giant Squid
- Activate the lanterns near the starting pillar. This restores the opening water trail.
- Follow the water to the next pillar. Activate the lanterns around its base.
- Check the raised area on the left. Before jumping up the ledge that continues the route, turn left and activate the lantern group there.
- Return and climb the two ledges. The next lantern group opens the way forward.
- Use the jellyfish to clear the wall, then turn left. Climb the sandfall to reach another lantern patch.
- Drop back to the water trail. Follow it to the large lantern group beside the tall sandfall.
- Check immediately to the right before leaving. Another lantern group wraps around the base of a pillar.
- Explore left before climbing the next jellyfish sequence. Jump up the two pillars to reach the high platform and activate its lanterns.
The right-hand pillar detour and the left-hand climb near the second jellyfish sequence are easy places to overlook while following the main water trail. Finish both before moving into the crystal section.
Crystal Route: Open the Way to the Final Chamber
Beyond the opening lantern sequence, large water crystals become part of the progression path. Break them by running into them with the dolphin.
 Image: swordoftheseagame.com
- Climb the first sandfall on the right. Break the crystal at the top.
- Work around to the left. Jump to the platform holding the second crystal and break it.
- Follow the restored route. Activate the large lantern group along the main path to get past the tall walls.
- Enter the chamber with three crystals. Start with the crystal on the left, beside the wall with the turtle mouths.
Pause your main-route progress after that first chamber crystal. The shell detour branches off here, before you activate the lanterns leading toward the next crystal.
Secret Shell Location: The Tower Above the Waterfalls
The chapter’s single shell sits on a stone tower in the final large area. You reach this section after a geyser carries you upward. The shell route uses a side climb and a jellyfish jump across the gap.

Reach the Upper Lantern Patch
After breaking the first crystal in the three-crystal chamber:
- Continue past the crystal and follow the right-hand wall around the corner.
- Climb the ledges along the side route. The stepped path wraps behind the large waterfall on the right.
- Reach the high platform and look back toward the chamber entrance. The shell is on a separate stone tower.
- Find the lantern group on the upper platform, between the crystals.
- Activate the lanterns to make a jellyfish appear between your platform and the shell tower.
Jump Across to the Shell
Aim your jump onto the jellyfish and use its bounce to reach the tower. Move close to the glowing white shell to collect it and earn Forbidden Valley Shell Collector.
The key landmark is the isolated tower facing back toward the entrance. If you’re still following lanterns toward the chamber’s remaining crystals, return to the right-hand ledges and take the higher side path.
Finish Restoring the Valley
After collecting the shell, return to the three-crystal chamber and complete the remaining route:
- Activate the lanterns to the left of the first crystal. They spawn jellyfish that let you cross to the second crystal.
- Break the second crystal.
- Continue up the platforms on the left. Reach and break the third crystal to open the onward route.
- Follow the newly opened water path. Continue through the short side-scrolling section.
- Break the final crystal. This opens the path out and completes the water-restoration objective, awarding Cleanse the Forbidden Valley when every water point has been activated.
Before taking the exit geyser, confirm that you collected the shell and covered the lantern detours in the opening stretch. The shell and water objectives are separate, so earning one trophy doesn’t complete the other.
Replay and Collectible Tracking
Chapter Select unlocks after you finish the story. Missed collectibles can be collected through chapter replays or New Game+, and collectible progress carries over.
The September 19, 2025 update added tracking tools that make cleanup easier:
| Tracking feature | Where to use it |
|---|---|
| Chapter collectible tracker | Chapter Select screen |
| Collectible tracker during New Game+ | Pause screen |
Use the Chapter Select tracker to review Forbidden Valley before replaying it. For a missing shell, head to the three-crystal chamber and take the right-hand climb after the first crystal. For an unfinished cleanse objective, revisit the opening side lanterns as you work through the full water-restoration route.
Continue exploring

Sword of the Sea Shells: All 50 Locations and Rewards
Find all 50 Sword of the Sea shells with chapter-by-chapter locations, vendor Tetra costs, and tips to unlock Water Whisperer and water rails anywhere.

Sword of the Sea Chapter Select: Unlocks & Replay Guide
Unlock Sword of the Sea chapter select, revisit all eight chapters, track missing collectibles, and avoid replay mistakes during your New Game Plus run.
Join the community
Official channels for news, updates and player help: