
Sword of the Sea Collectibles Guide: Shells & Secrets
Use this Sword of the Sea collectibles guide to track all 50 secret shells, find hidden frogs and steles, and plan your cleanup with less backtracking.
Jump to
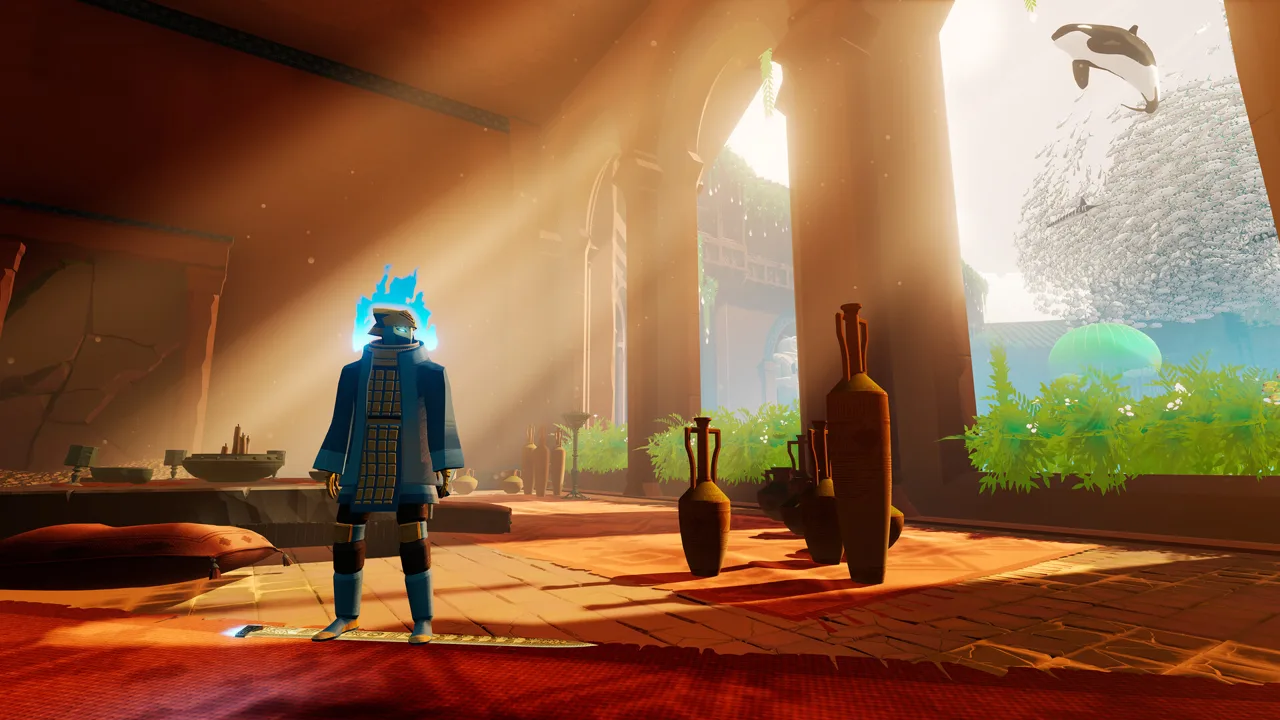
Collectible Counts and How Cleanup Works
That shell above a ruined statue can unlock more than another trophy. This Sword of the Sea collectibles guide covers chapter counts, hidden routes, animal encounters, and the vendor reward you need to complete your collection. Collect all 50 secret shells to unlock Water Whisperer and use water rails throughout the game, beyond Sacred River.
The full shell collection consists of 49 shells hidden across seven chapters, plus one purchased through the vendor’s reward sequence.
| Chapter or reward | Secret shells |
|---|---|
| Veiled Sea | 10 |
| Lost Grotto | 11 |
| Forbidden Valley | 1 |
| Shadow Tundra | 10 |
| Frozen Drifts | 1 |
| Sacred River | 11 |
| Boiling Cavern | 5 |
| Final vendor reward | 1 |
| Total | 50 |
Other collectible objectives include reading 23 stele messages, riding 7 animal types, finding 5 frog secrets, discovering 4 Trick Attack areas, and restoring each region’s water. Treasure chests and glowing fish tiles also matter: their Tetra funds the vendor’s unlocks.
None of the collectibles are permanently missable. Chapter Select unlocks after completing the story, and collectible progress carries into chapter replays and New Game+.
Water points work differently. They reset when you replay a chapter, so earning a region’s cleansing trophy requires activating every water point during that chapter visit. Finish optional water routes before leaving an area.
Use the Updated Collectible Trackers
The September 19, 2025 update added a collectible tracker to Chapter Select and another to the pause screen in New Game+. It also fixed incorrect collected-item counts that could prevent an associated trophy from triggering.
Keep a separate checklist for stele titles. Their yellow lettering disappears after reading them during a chapter, but it returns during Chapter Select replays and New Game+, making their appearance unreliable for tracking earlier visits.
Official page: Sword of the Sea (swordoftheseagame.com)
Veiled Sea: 10 Shells, Six Steles, and the Desert Rain Frog
Restore water before tackling the higher secrets. Jellyfish, kelp, wall rides, and orcas provide access to several locations that are awkward to reach when you first enter.
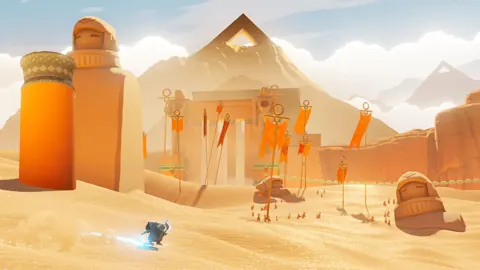
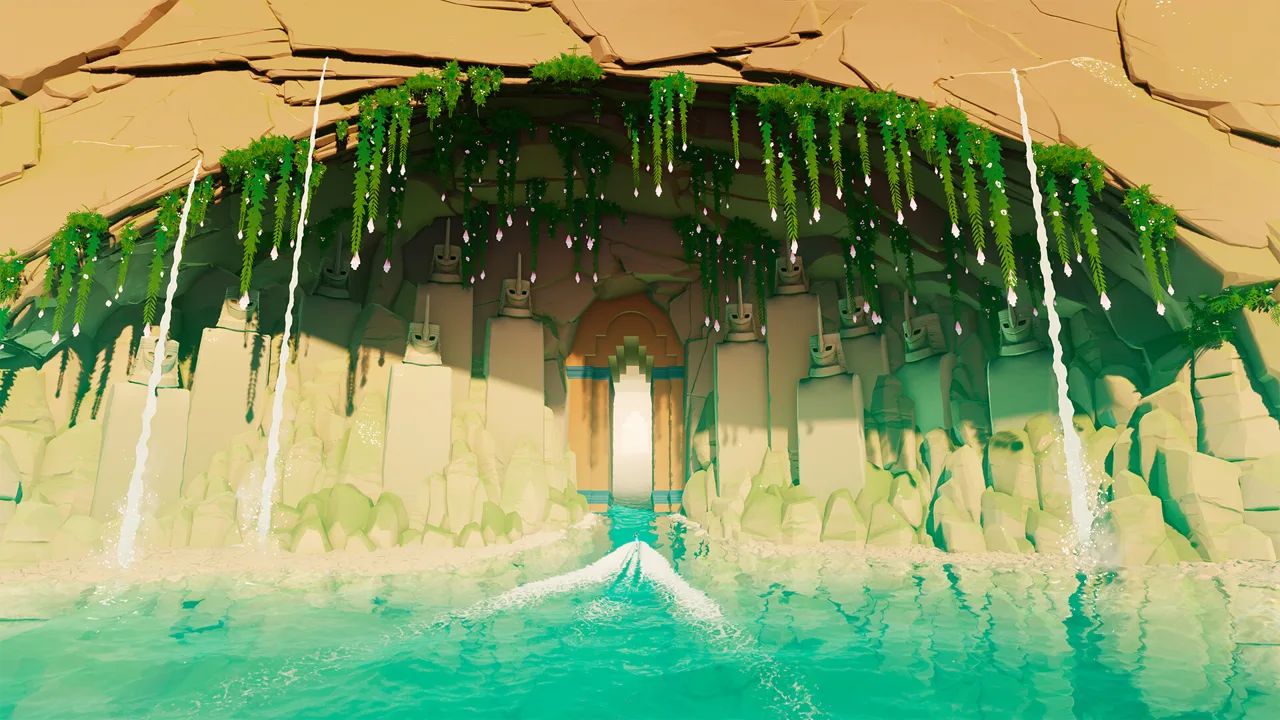 Image: Steam / Giant Squid
Secret Shell Route
The numbers below describe a route through Veiled Sea, rather than an in-game numbering system.
- Hole beside the halfpipe: Below the vendor, inspect the left side of the halfpipe. Enter the opening in the wall.
- Cave beside the waterfall: In the lantern-pillar area, activate the water point and look toward the waterfall below the stele ledge. Search the cave on its right.
- Platform beyond the wall ride: Inside the cave network near the mural, climb the jellyfish route and activate the next water point. Use the newly revealed wall ride to reach the shell’s platform.
- Statue above the vendor’s building: After orcas appear, ride one toward the statue beside the building and jump onto it.
- Lower pillar beside the chain route: From outside the building, face along the chain and look down to the left. Build speed and jump to the nearer of two lower pillars. The second pillar has a return interaction.
- Cave below the narrow waterfall: Search the opposite side of the building. Cross the narrow waterfall and drop onto the cave ledge.
- Cliff path beyond a wall ride: After using the central button to lower the sand in the next area, follow the left wall uphill. Cross the wall ride to reach the shell.
- Cave beside a flag: Once kelp lets you climb behind the building to the waterfall’s upper path, follow the cliffs right. From the projecting stone walkways, look down and left for a flag beside a cave.
- Cliff beside the lower statue: From the Desert Rain Frog’s platform, look down toward the statue. Drop to the small cliff beside it.
- Sandy patch near the central area: On the return route, use the chains or kelp to reach the cliffs on the right. Search the small sandy area just before the main clearing.
Stele Checklist
Read each pillar rather than simply passing it.
- The Sea Remembers: Follow the left wall in the opening area and light the lanterns to reveal its cave.
- The Necropolis: Restore water at the lantern pillar, then bounce up the new jellyfish to the higher ledge.
- The Blade: Search beside the large mural after activating the cave’s water point.
- The Fish Swim in the Sky: Near the central building, look for an open window with a platform behind it.
- The Cycle is Broken: Follow the right-side chain toward its door and inspect the platform on the left.
- Auma: Climb the kelp behind the restored building and follow the upper waterfall path.
Frog, Orca, and Trick Attack
For the Desert Rain Frog, follow the upper waterfall’s cliff path right until you reach several descending stone walkways. Drop to the lowest platform and approach the frog’s stack of rocks.
For Orca Rider, restore water around the central building, use a jellyfish to reach an orca’s back, then jump off after riding it.
The chapter’s Trick Attack area is through a wall doorway left of the central building. Interact with its stone pillar to register the discovery, then beat the 8,000-point target.
Before taking the main exit, inspect optional caves and lantern groups along the left wall. Several water points sit away from the direct story route.
Lost Grotto Through Frozen Drifts: Shell Counts and Animal Secrets
These chapters account for 23 hidden shells between them. Use their individual shell trophies and the Chapter Select tracker to identify where cleanup remains.
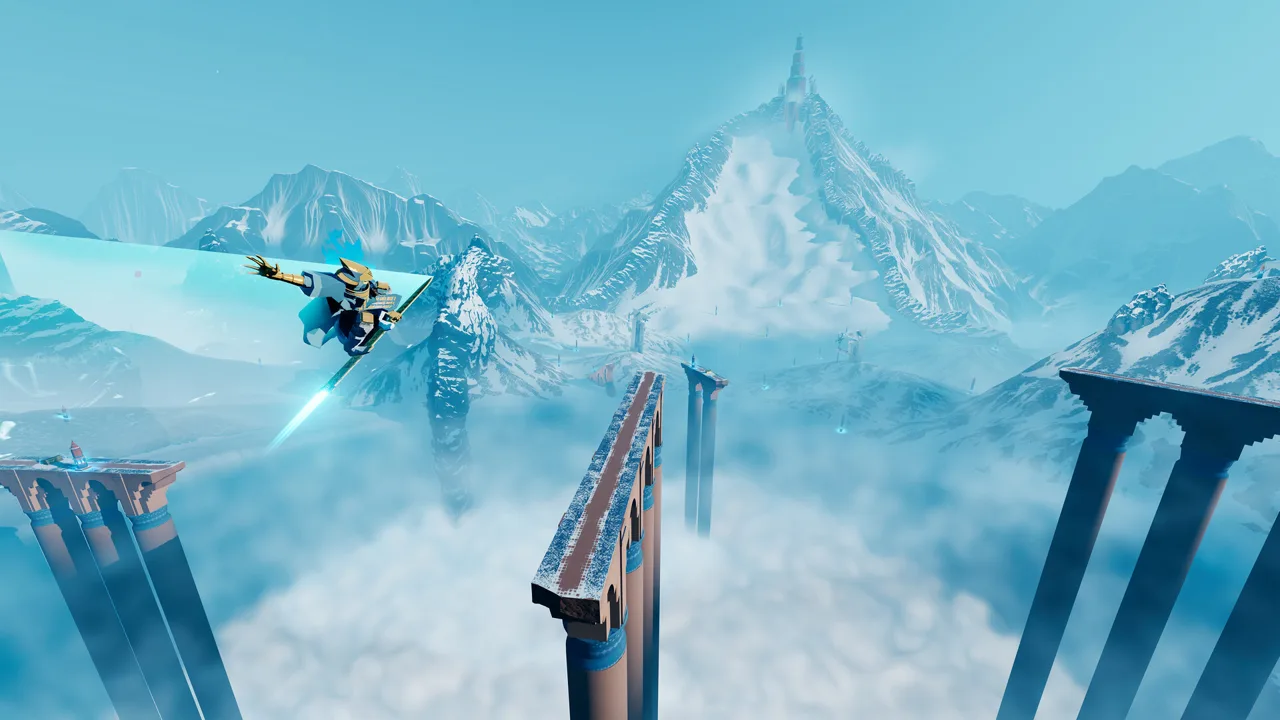 Image: Steam / Giant Squid
Lost Grotto: 11 Shells
The Bullfrog is near the building whose upper water point activates the chain opening the exit.
- Activate that water point and remain on the building.
- Move behind the large shark statue.
- Look down for a long, narrow rooftop pointing toward a stone pillar.
- Cross the rooftop and climb the pillar’s ledges to reach the frog.
For Archelon Rider, activate the main water point on top of the building that opens the level’s exit. Ride one of the large archelon that appear afterward and jump off. The similar turtles encountered earlier do not satisfy this trophy.
Lost Grotto also contains a Trick Attack area with a 10,000-point target.
Forbidden Valley: One Shell
There is one secret shell in Forbidden Valley. Finding it completes Forbidden Valley Shell Collector.
Keep the chapter’s water objective separate from its shell count. Cleanse the Forbidden Valley requires returning all water to the region.
Shadow Tundra: 10 Shells
For the Horned Frog, activate the first gold bell and enter the large open area. Head toward the back to find a ramp aimed at the tall central platform. Use a boosted, charged jump to reach the frog.
The elasmosaur appears after an optional water point:
- Reach the area beyond the statue where boost wisps become available.
- Climb to the top of the hill.
- Face the entrance and locate the platform on the far left with a large doorway.
- Use the boosts to jump across.
- Activate the water point inside the cave, then ride the animal that appears.
This chapter also has a Trick Attack area with a 10,000-point target.
Frozen Drifts: One Shell
Frozen Drifts contains one secret shell for Frozen Drifts Shell Collector.
While traveling through the chapter, activate optional water points and break crystals to release Tetra. Collect it toward the vendor’s final reward, especially if your chapter shell trophies are nearly complete but Water Whisperer remains locked.
Sacred River: 11 Shells and Three Rideable Animals
Sacred River introduces water rails and uses them throughout its hidden routes. Restore each section before searching its upper ledges: sperm whales, whale sharks, blue whales, kelp, and jellyfish all become part of the traversal.
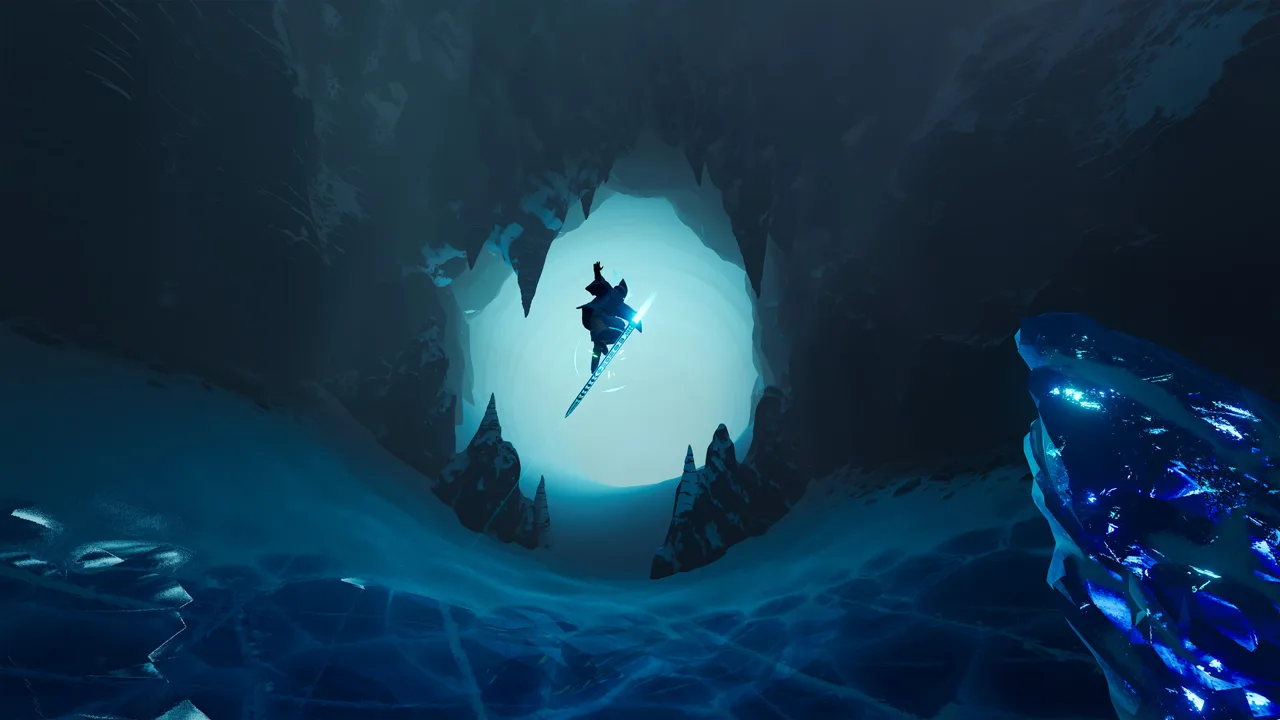 Image: Steam / Giant Squid
Secret Shell Route
- Behind the opening statues: After the introductory lanterns, turn around from the stairs. Climb the statue with the broken head and jump toward the back of the room. The shell is right of the large statue.
- Side room above the ramp: In the mural room, start up the ramp, then jump backward through the break in the wall.
- Upper ledge in the whale chamber: Activate the central water point in the large room. Ride a sperm whale upward and jump onto the ledge above the entrance.
- Cave beside the boats: In the next open area, bounce up the jellyfish at the pillar. Use water rails to cross the boats until you reach the small cave by the third boat.
- Raised ground beyond the wall route: In the ship area, find the boat near the back wall with a rail hint. Launch from it, use a water rail toward the tower, and land on the wall’s last section. Jump and rail onward to the raised shell location.
- Narrow path toward the entrance: From the wall area, look left for ground wrapping back toward where you entered. Follow it to the end.
- Broken pot inside the raised ship: Enter the giant ship after raising it. Opposite the stele room, search the broken pot on the left side of the urn-filled room.
- Roof above the ship’s halfpipe: Launch from the halfpipe at the back of the ship, then use a water rail to reach the building above.
- Lower opening beneath the floating island: Under the giant island, look down and left for lanterns outside an opening. Use the lower boat to line up your descent.
- Small floating island near the vendor: From the central tall platform, locate the vendor’s platform and the smaller island to its left. Use a blue whale and the floating lanterns to reach the island’s upper room.
- Boat beside the exit bridge: Follow the newly formed bridge toward the exit, but look right before reaching the top. Jump and water rail to the boat perched on a narrow pillar.
Stele Checklist
- The Minder’s Wisdom: In the large mural room before the ramp.
- The Tower: Down to the left after entering the open area beyond the sperm whale chamber, near boats caught on pillars.
- The Sacred River: Inside the giant raised ship, in the room opposite the urns.
- The Value of Legend: On a smaller island reached by bouncing up jellyfish from the central building’s middle level.
Restore Water Before Leaving Each Section
In the opening rooms, activate the hanging lanterns, explore the room opened beyond the ramp, and carry the water bubble back to the turtle mouth. Use a water rail to reach the large chamber’s central water point.
In the ship section, explore both paths around the ghostly arches. Activate the lantern groups beneath both smaller ships so you can reach their upper switches and raise the giant ship.
In the floating-island section, follow the jellyfish route right beneath the island to a smaller platform. Its lanterns create the route toward the Trick Attack doorway. Continue checking the inverted tower, the central building’s upper and lower rooms, and the neighboring building reached by floating lanterns. The final water point sits on the chandelier.
Animal and Frog Checklist
- Sperm Whale Rider: Restore the large cylindrical chamber, ride a sperm whale, then jump off.
- Whale Shark Rider: Activate the water point atop the giant ship and ride one of the whale sharks circling the area.
- Blue Whale Rider: Restore the final area at the chandelier, then use kelp, jellyfish, or water rails to board a blue whale.
- Poison Dart Frog: From the raised ship, use kelp or grind the chain to reach its first supporting pillar. Water rail toward the cliff with a boat in the direction the chains run. Approach the frog on its rock stack.
For Water Rider, create four water rails without touching the ground. Near the chapter’s beginning, bounce from a jellyfish, trigger a water rail, jump off, and land back on the jellyfish to stay airborne for another rail.
Sacred River’s Trick Attack area has a 10,000-point target. Reach its doorway using the paper lantern route beneath the floating island.
Boiling Cavern: Five Shells and the Final Three Steles
Boiling Cavern contains the last five environmental shells, three stele messages, and the Frog Skeleton. Search the side ledges as you advance through the boats and lava.
Secret Shell Route
- Behind the first lava-area pillar: When you reach the floating boats, jump around the back of the pillar on the left. The shell sits on a small ledge.
- Upper ledge above The Fires Below: After opening the water-bubble door, find the stele on the right behind a rock. Climb the rocks behind it, follow the room clockwise, and jump to the far upper ledge.
- Cave beyond the sideways boat: In the large boat-filled room, search the right side near the stele. Jump onto the sideways boat in the lava, climb the ledges, and follow them right into the cave.
- Thin rock corridor: Near the beginning of that same room, look beyond the round platform on the left. Jump through the narrow corridor to reach the shell at its end.
- Ledge behind the final stele: In the room with grindable skeletons, reach the stele on the second level. Jump up behind it, beside the statue, to collect the shell.
Stele and Frog Checklist
- The Fires Below: Right side of the room beyond the water-bubble door, behind a rock.
- The Army of Red Fire: Around the right-hand corner of the large boat-filled room.
- When Water Battles Fire: On the second level of the skeleton-grinding room, at the end of the second skeleton.
- Frog Skeleton: From the platform holding the water ball near the large door, head right across the boat. Climb to the boat on the tall platform and inspect the lantern on top.
Reading all 23 steles unlocks Wisdom of the Ancients. Collecting the chapter’s five shells unlocks Boiling Cavern Shell Collector.
The next chapter, Sky Abyss, contains no collectibles.
Tetra, Vendor Rewards, and Trick Attack Completion
If every chapter shell trophy has unlocked but Water Whisperer has not, finish the vendor’s reward sequence. Its last reward is the 50th secret shell.
Vendor Costs
Each cost below is an additional payment.
| Reward | Tetra payment | Cumulative Tetra |
|---|---|---|
| Tricks | 50 | 50 |
| Spin Tricks | 500 | 550 |
| Drop | 1,000 | 1,550 |
| Super Jump | 2,000 | 3,550 |
| Secret Shell | 5,000 | 8,550 |
The vendor appears repeatedly along the main route. Spend Tetra when you encounter them rather than backtracking to an earlier location.
Open gold treasure chests and land on glowing blue fish tiles while exploring. Opening 10 chests earns Treasure Tracker, and activating 10 fish tiles earns Tile Finder. Both also supply currency for the vendor.
Look above the main path for fish tiles, particularly on rooftops and statues. Chests and tiles become available again during Chapter Select replays and New Game+, allowing you to continue working toward the 8,550-Tetra total.
Trick Attack Targets
| Area | Target score |
|---|---|
| Veiled Sea | 8,000 |
| Lost Grotto | 10,000 |
| Shadow Tundra | 10,000 |
| Sacred River | 10,000 |
Interact with the stone pillar in each arena to register it for Trick Attack Seeker. Beat all four target scores for Trick Attack Expert. Clearing an arena’s target for the first time also awards Tetra toward your purchases.
Extend combos by alternating aerial tricks between wall rides, grinds, and jellyfish bounces. When using jellyfish, move between different ones: repeatedly bouncing on the same jellyfish does not increase your combo.
For animal cleanup, check all seven riding trophies individually: Orca Rider, Archelon Rider, Humpback Rider, Sperm Whale Rider, Whale Shark Rider, Blue Whale Rider, and Elasmosaur Rider. Jump onto each animal’s back, ride it, and jump off to complete the encounter.
Before replaying a long section because a trophy stayed locked, install the game’s updates. The September 23, 2025 update fixed a trophy/achievement issue when starting the final level through Chapter Select, while the September 19 update corrected collectible counts that could interfere with trophy awards.
Continue with
 Sword of the Sea Easter Eggs: Hidden Finds to ExploreExplore Sword of the Sea easter eggs, meet the desert rain frog, hunt secret shells, and use collectible trackers to plan your next hunt through the ruins.
More in Collectibles

Sword of the Sea Frogs: All 5 Locations and Trophies
Find all five Sword of the Sea frogs with routes to each hidden location, their trophy rewards, and chapter select tips to finish your collectible hunt.

Sword of the Sea Light Up All Boats: Reward & Route
Sword of the Sea light up all boats guide: find the tetra reward, follow the ghost bridge and ship routes, and sweep distant boats before moving onward.
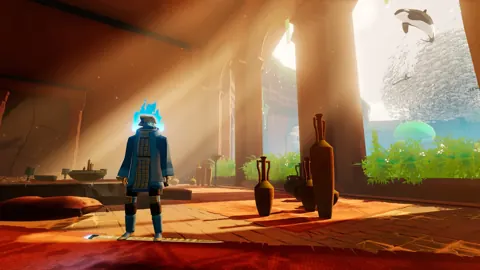
Sword of the Sea Shells: All 50 Locations and Rewards
Find all 50 Sword of the Sea shells with chapter-by-chapter locations, vendor Tetra costs, and tips to unlock Water Whisperer and water rails anywhere.
Join the community
Official channels for news, updates and player help: