
Sword of the Sea Frozen Drifts: Shell and Water Guide
Find the Sword of the Sea frozen drifts shell, activate hidden water points, and navigate the shark route to earn both chapter trophies before moving on.
Jump to

Where to Find the Frozen Drifts Shell
The Sword of the Sea Frozen Drifts shell is hidden behind the final area's red tower, where a lantern patch raises a narrow path toward a giant sword. Collecting this single shell earns Frozen Drifts Shell Collector. To unlock Cleanse the Frozen Drifts too, you'll need to activate the optional water points scattered along the shark route.
You can follow the main path through the earlier sections without searching for shells. Watch for the landscape to change from snow-covered terrain to waves of transparent ice: that's your cue to explore the final area before finishing the chapter.
- Find the large red tower on the mountain at the back of the area.
- Travel around the mountain and descend its backside.
- Look for a patch of lanterns near the bottom of the slope. Check the darker ground carefully, since the lanterns can blend into it.
- Activate the lanterns to raise a side passage from the clouds.
- Follow that passage toward the giant sword and collect the shell in front of it.
The lantern patch also belongs on your water-point checklist, so this detour matters for both chapter trophies.
Official page: Sword of the Sea (swordoftheseagame.com)
How to Control the Great Shark
Frozen Drifts is the fifth chapter, following Shadow Tundra. Here, you ride the Great Shark through a mostly linear sequence of snowy slopes, ice formations, and red towers.

The shark cannot jump directly. Its charge lets you smash through ice, including crystals containing the water spheres needed for progression.
For ice blocks suspended in archways, charge near an uphill slope to launch into the air. Use the terrain to gain height rather than trying to jump from flat ground.
At the main towers, activate both water spheres, then return to the lanterns that appear at the tower's base. Optional lantern patches sit outside that direct route, so sweep each area's sides before advancing.
Water Point Route Through Each Area
Use the landmarks below to work through the chapter in order. Check optional lanterns before activating the tower's exit sequence.
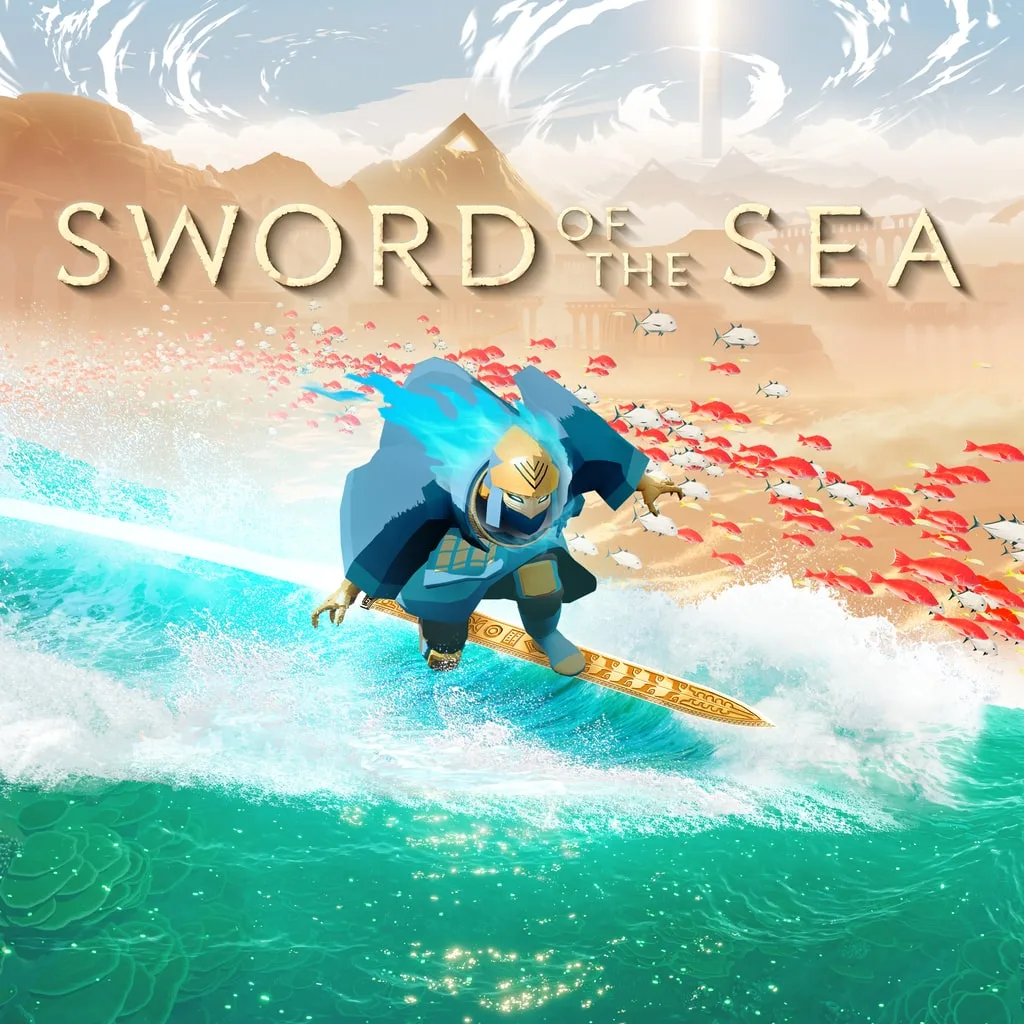 Image: PlayStation
Entrance and First Open Area
- Activate the entrance lanterns to open the door.
- In the first open area, explore the left side for an optional lantern patch.
- Break the crystal containing a water sphere on the right.
- Circle around the left side of the raised terrain. Activate the lantern group there and break the other sphere-containing crystal.
- Return to the central pillar and activate the lanterns revealed by the two spheres.
The raised ground is the landmark to remember here: circling its left side brings you to both an optional lantern patch and a required sphere.
Second Open Area
After dropping into the next section, check the left side before heading up the hills.
- Activate the lanterns near the ice on the left.
- Climb the first large hill and break the crystal containing a water sphere.
- Search just beyond the arch on the left for another lantern patch.
- Find the second sphere-containing crystal on the tower's left side.
- Continue past that crystal's location to another group of lanterns.
- Return to the pillar and activate its newly available lanterns.
Check the terrain around the arch before leaving. This section also gives you opportunities to use slopes to reach elevated ice blocks.
Final Open Area
The last area has several side routes around its raised central terrain. Complete a circuit before heading for the goal.
- Activate the lanterns on the first hill.
- Follow the snow path on the right side of the raised area to another lantern group.
- Continue around the central terrain and check the next snow path for more lanterns.
- Break the sphere-containing crystal on the raised platform to the right.
- Search the left side near an arch for another lantern patch.
- Follow the snow path beside the raised area to an additional lantern group.
- Break the second sphere-containing crystal on the left raised platform.
- Explore behind the hill supporting the red tower. Activate the hidden lanterns and collect the shell along the passage they raise.
- Return to the tower and activate its lanterns after both spheres are active.
Returning all the chapter's water unlocks Cleanse the Frozen Drifts. If it hasn't appeared, revisit the hillside paths, perimeter lanterns, and shell detour before ending the chapter.
Tracking Collectibles and Replaying the Chapter
Missing the shell doesn't require starting a new save. Chapter Select unlocks after completing the story, and collectible progress carries over into Chapter Select and New Game+.
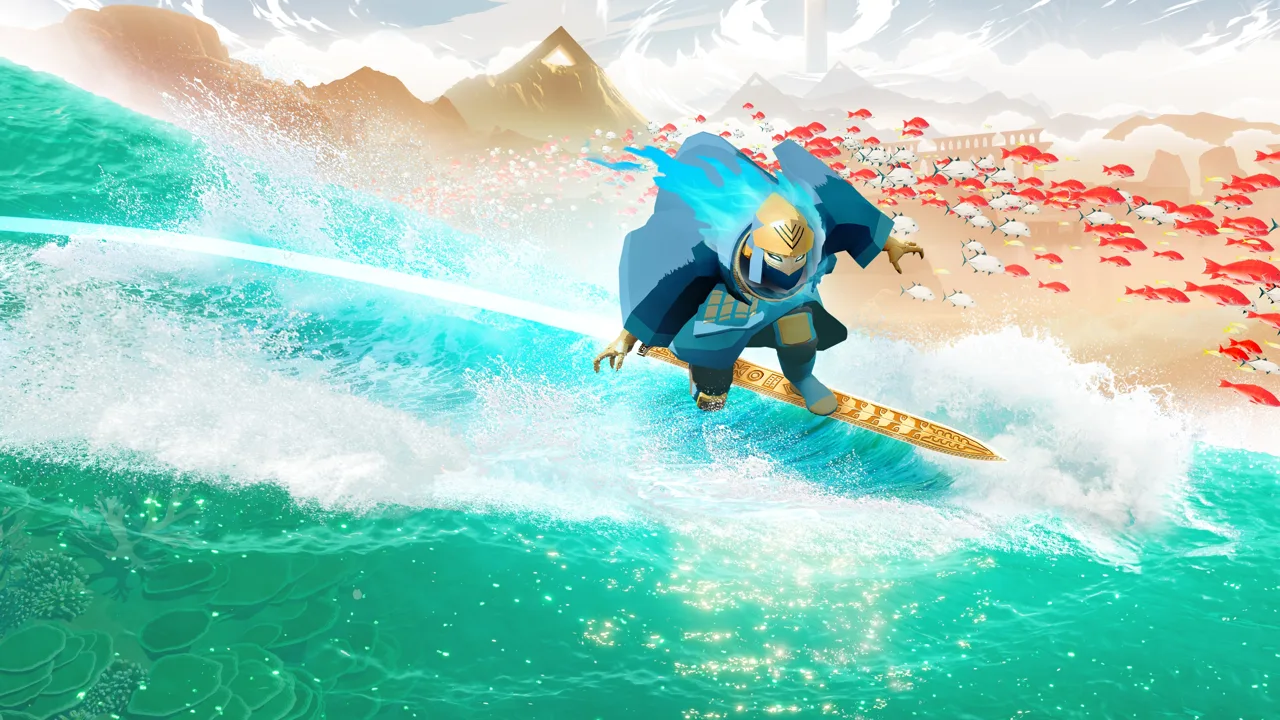 Image: PlayStation Store
The September 19, 2025 update added a collectible tracker to Chapter Select and another to the pause screen in New Game+. Use the chapter tracker to identify unfinished areas before replaying them.
For a missing water point, check the lantern patches on darker slopes and behind the final tower. The required spheres lead you through the chapter, but those side patches are easy to pass while following the main objectives.
Continue with
 Sword of the Sea Map: Navigation and Hidden Frog GuideExplore the Sword of the Sea map with landmark navigation tips, all five frog locations, and collectible tracker details to help you find hidden secrets.
More in Maps
Sword of the Sea Boiling Cavern: All Shells & Secrets
Find every Sword of the Sea Boiling Cavern shell, all three stele, and the Frog Skeleton. Follow the route and learn how to finish your shell collection.

Sword of the Sea Forbidden Valley: Shell & Water Guide
Explore Sword of the Sea forbidden valley, find its hidden shell, restore every water point, and follow the dolphin route without missing the final detour.
Continue exploring
Sword of the Sea Chapter Select: Unlocks & Replay Guide
Unlock Sword of the Sea chapter select, revisit all eight chapters, track missing collectibles, and avoid replay mistakes during your New Game Plus run.
Sword of the Sea Walkthrough: Chapters and Collectibles
Use this Sword of the Sea walkthrough to restore water, find secret shells, unlock vendor rewards, and prepare for Tornamun and a New Game Plus speedrun.
Join the community
Official channels for news, updates and player help: