
Sword of the Sea Frogs: All 5 Locations and Trophies
Find all five Sword of the Sea frogs with routes to each hidden location, their trophy rewards, and chapter select tips to finish your collectible hunt.
Jump to

Where to Find All Five Frogs
The Sword of the Sea frogs hide on waterfall ledges, narrow rooftops, and stranded boats just beyond the main route. Each of the five discoveries unlocks its own trophy or achievement, making these small detours essential for full completion. You only need to approach each frog closely enough to register the discovery.
| Frog / Trophy | Area | Hiding Spot |
|---|---|---|
| Desert Rain Frog | Veiled Sea | A lower stone ledge beside the waterfall |
| Bullfrog | Lost Grotto | Rocks beyond the narrow rooftop behind the dolphin statue |
| Horned Frog | Shadow Tundra | The tallest isolated platform in the large bell area |
| Poison Dart Frog | Sacred River | A boat on a side cliff near the raised ship’s chain route |
| Frog Skeleton | Boiling Cavern | A lantern on a boat perched above the lava area |
Official page: Sword of the Sea (swordoftheseagame.com)
Desert Rain Frog: Veiled Sea
Start this detour after restoring water in the building on the right side of the main area, near the golden exit door with two chains. Activating its sphere water point brings the right-side chain and nearby kelp into use.
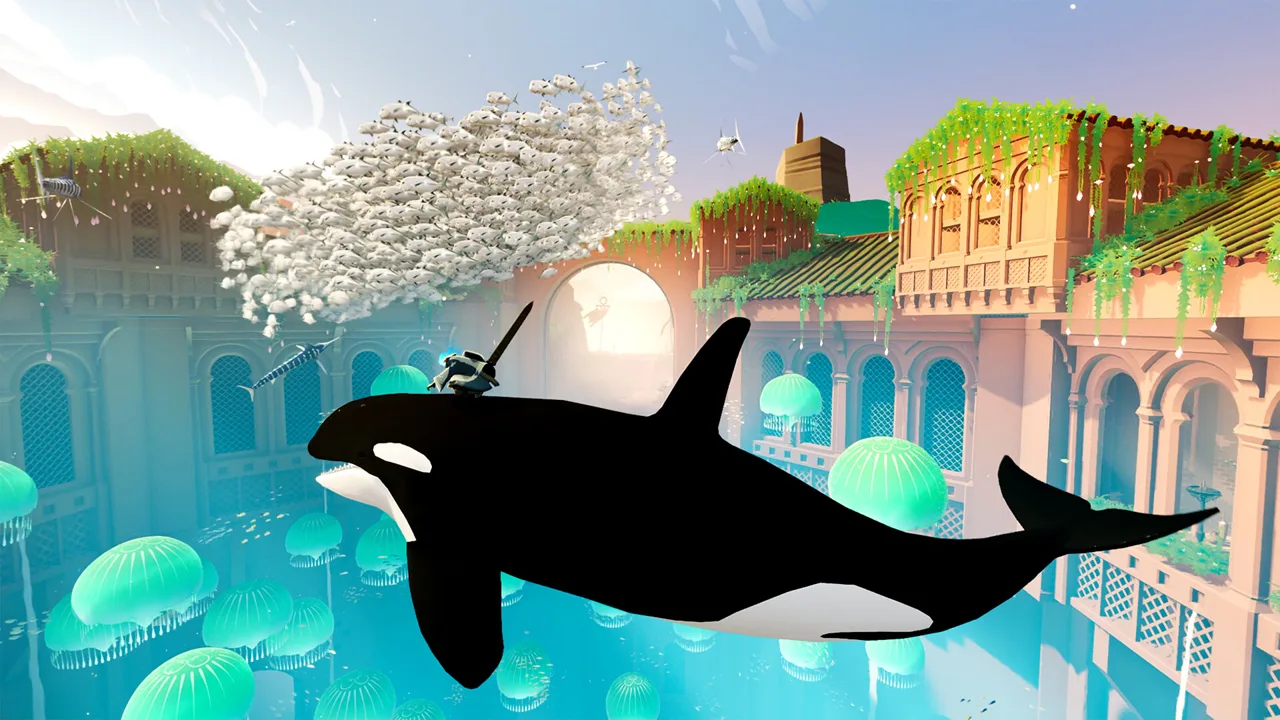 Image: Steam / Giant Squid
- Head behind the building and use the kelp to reach the top of the waterfall.
- Follow the elevated cliff route back toward the earlier part of the area.
- Find the smaller waterfall and look over the edge for a descending series of stone platforms.
- Drop carefully from ledge to ledge until you reach the frog overlooking the valley.
Check the ledges individually rather than dropping straight to the bottom. Another platform below the frog leads to a secret shell, so you can pick up an extra collectible during the same detour.
Bullfrog: Lost Grotto
The Bullfrog is near the end of Lost Grotto, close to the water sphere beside the large dolphin statue. Stay on the upper building after restoring the water and activating the exit chain.
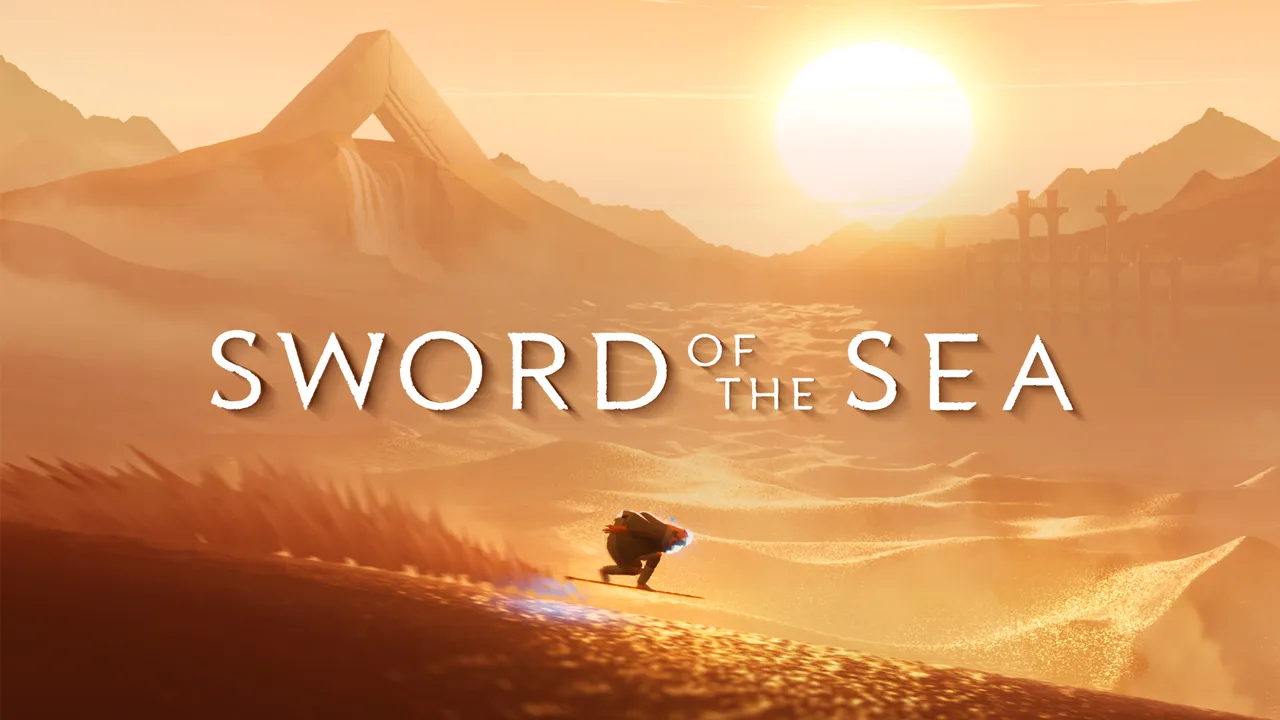 Image: swordoftheseagame.com
- Move behind the dolphin statue.
- Look down for a long, narrow rooftop extending toward a stone pillar.
- Drop onto that rooftop and follow it to the far end.
- Climb the rocky edges around the pillar to reach the frog’s hiding place.
The rooftop looks like a dead end from above, but the rocks at its far end provide the remaining route. Slow down on the narrow stretch so you can line up the climb without surfing off the edge.
Horned Frog: Shadow Tundra
The Horned Frog sits high above the large open area reached after activating the first golden bell. Look for the tallest isolated platform and a ramp that gives you a route onto it.

- Enter the larger area beyond the first bell.
- Travel toward the main building and exit door, then explore to the left for the launch ramp.
- Identify the tall platform before starting your approach.
- Back up to build speed, then boost toward the ramp.
- Use a charged jump to reach the platform and approach the frog.
Give yourself a longer run-up if you fall short. This jump depends on carrying momentum into the ramp and timing your launch; starting close to its lip leaves less room to gain speed.
Poison Dart Frog: Sacred River
Progress until you raise the large ship and activate the water sphere on top. The moving chain, jellyfish, and kelp around this area provide access to the higher route—and the nearby frog.
- Use the kelp or grind the chain to reach the first elevated pillar along the chain’s path.
- Face toward the next objective and look right for a side cliff with stranded boats.
- Jump toward that cliff, using a water rail to extend your crossing.
- Reach the boat on the lower part of the cliff and approach the frog on top.
Locate the boat before committing to the crossing. The hiding spot is off to the side of the onward route, so continuing along the chain toward the next objective carries you past the detour.
Frog Skeleton: Boiling Cavern
Cross the large lava pool using the ships and platforms until you reach the water orb in front of the large door. Search the right side before continuing through that doorway.
- Turn right from the door and water-orb area.
- Find the rocks and platforms leading toward a boat perched on a tall stone column.
- Climb across them using jumps and double jumps.
- Reach the elevated boat and approach the lantern holding the Frog Skeleton.
Look above the lower boat rather than stopping at it. Your destination is the ship higher up on the column, where the skeleton rests near its edge.
Tracking Missing Frogs and Cleaning Up Trophies
Missing a frog does not require restarting the adventure. Chapter Select unlocks after completing the story, and collectible progress carries over into chapter replays and New Game+.
Keep these details in mind during cleanup:
- Each frog has a separate discovery trophy or achievement; the five are part of the game’s 48 Steam achievements.
- The September 19, 2025 update added a collectible tracker to Chapter Select.
- That update also added a pause-screen collectible tracker in New Game+ and fixed incorrect collectible counts that could interfere with an associated trophy.
Use Chapter Select to identify the area that needs another visit, then return to its frog’s hiding spot and move close enough to register the discovery.
Continue with
 Sword of the Sea Light Up All Boats: Reward & RouteSword of the Sea light up all boats guide: find the tetra reward, follow the ghost bridge and ship routes, and sweep distant boats before moving onward.
More in Collectibles
Sword of the Sea Collectibles Guide: Shells & Secrets
Use this Sword of the Sea collectibles guide to track all 50 secret shells, find hidden frogs and steles, and plan your cleanup with less backtracking.
Sword of the Sea Easter Eggs: Hidden Finds to Explore
Explore Sword of the Sea easter eggs, meet the desert rain frog, hunt secret shells, and use collectible trackers to plan your next hunt through the ruins.
Sword of the Sea Shells: All 50 Locations and Rewards
Find all 50 Sword of the Sea shells with chapter-by-chapter locations, vendor Tetra costs, and tips to unlock Water Whisperer and water rails anywhere.
Continue exploring
Sword of the Sea How Long to Beat: Story & 100% Time
Sword of the Sea how long to beat guide: compare story and completion times, plan your New Game+ run, and cut down collectible and trophy cleanup time.
Sword of the Sea How to Save: Slots and PC Backups
Open the pause menu to access saved progress in Sword of the Sea. Resume your file, copy save slots, and back up Windows saves with Steam Cloud.
Join the community
Official channels for news, updates and player help: