
Sword of the Sea Map: Navigation and Hidden Frog Guide
Explore the Sword of the Sea map with landmark navigation tips, all five frog locations, and collectible tracker details to help you find hidden secrets.
Jump to
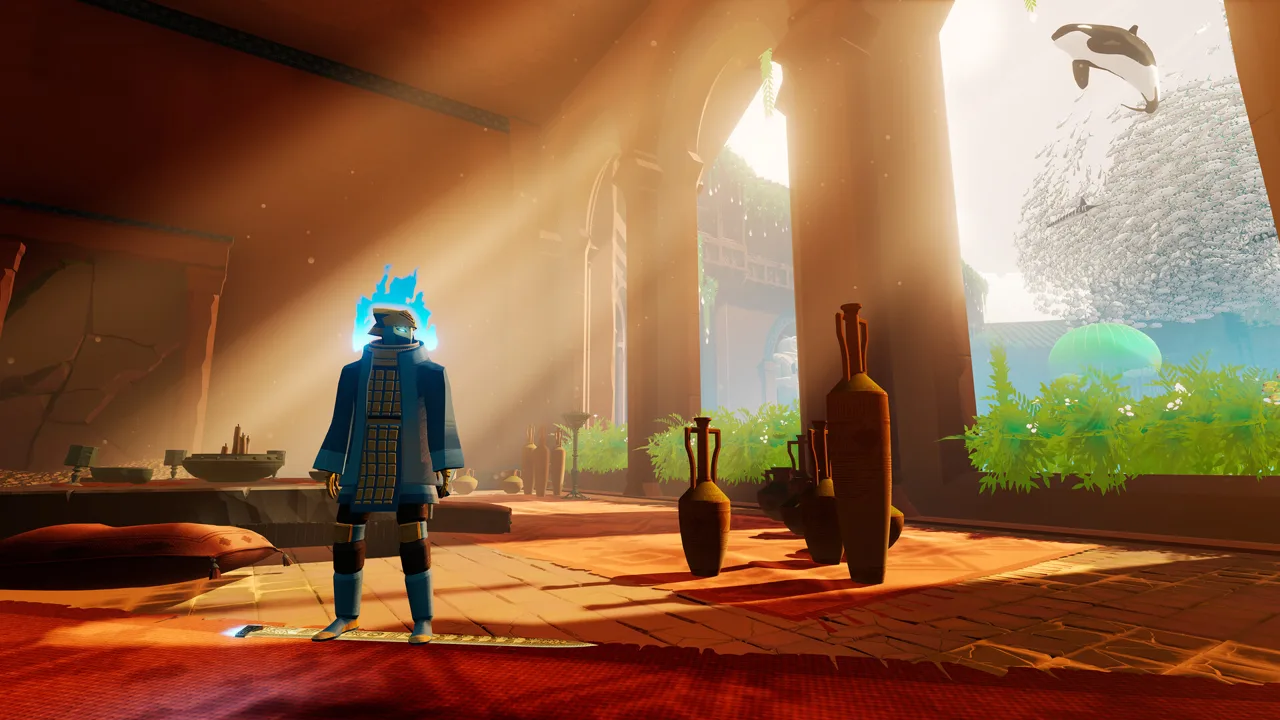
Does Sword of the Sea Have a Map?
Looking for a Sword of the Sea map to track down those hidden ledges? The game has no built-in map or minimap, so recognizing landmarks matters when you’re exploring beyond the main route. Chains, red banners, and distinctive structures help you navigate—and find the detours hiding all five frogs.
You explore as the Wraith, riding a Hoversword through deserts, glacial landscapes, and ancient ruins while restoring a buried ocean. Water restoration changes the scenery and can provide transportation to higher sections, giving you a reason to look around again after activating an area’s water mechanisms.
Follow Chains and Red Banners
Chains serve as visible connections between areas, while red banners draw your attention toward important locations. In the opening desert, those banners help direct you toward points of interest and the large door leading deeper into the game.
Use these landmarks to keep your bearings:
- Trace chains toward their endpoints when you need to reconnect with the main route.
- Watch for red banners across open stretches of sand.
- Inspect the structure beneath an exit chain before leaving; the Lost Grotto frog is hidden above its water activation point.
- Scan cliffside boats and elevated platforms when searching for frogs.
Look Above and Below the Main Route
Several frog locations depend on noticing a different elevation: ledges below your path, a rooftop above an activation point, or a boat perched against a cliff.
Build momentum before attempting a high platform. The Hoversword’s speed and ramp jumps are especially relevant in Frozen Tundra, where reaching the frog requires a fast approach.
Official page: Sword of the Sea (swordoftheseagame.com)
All Five Frog Locations
The five frogs are tucked into specific environmental landmarks. Follow the directions below from each named activation point or structure, and pause before taking the newly opened route onward.
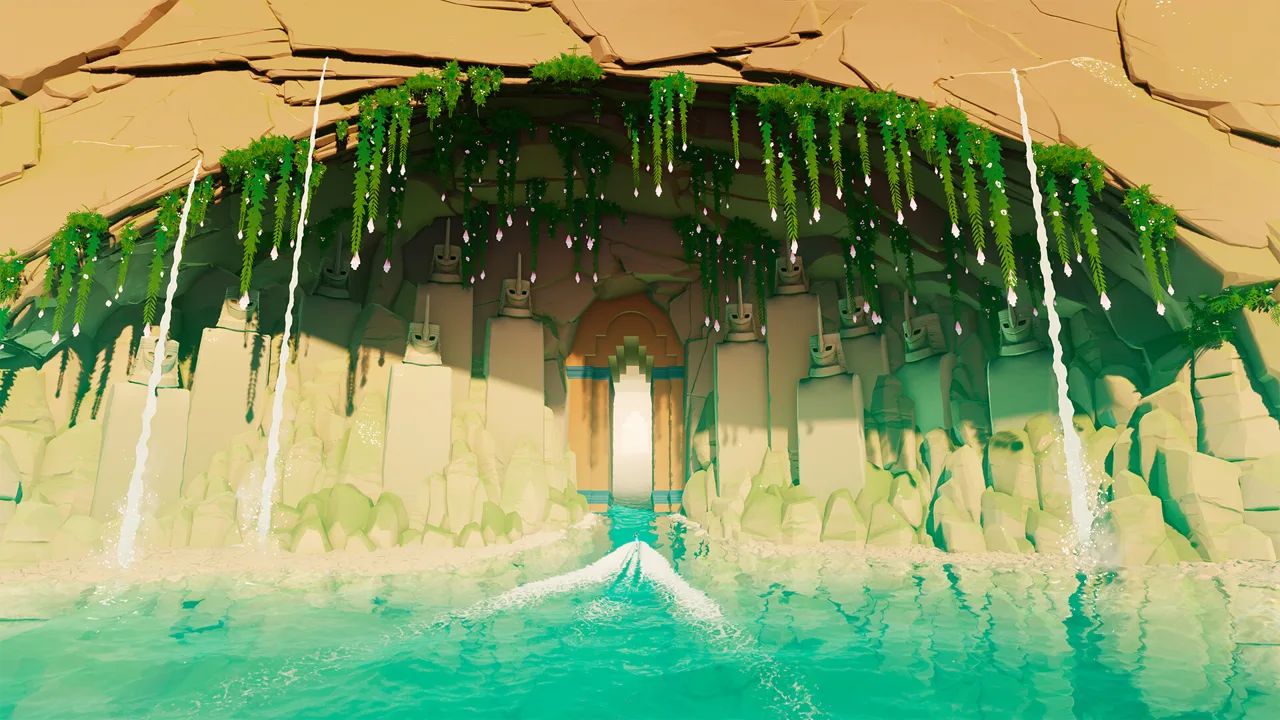 Image: Steam / Giant Squid
Veiled Sea: Desert Rain Frog
The desert rain frog is in the second area on the right as you enter the main area.
- Head into that right-hand section and release the water.
- Find the sequence of ledges leading downward.
- Descend carefully, checking the ledges for the frog.
Look below the frog’s ledge for another platform leading toward a secret shell. Check that lower route before climbing away.
Lost Grotto: Behind the Pillar
Near the end of Lost Grotto, activating a water sphere point opens the chain route toward the level’s exit. The frog is above that activation point.
- Activate the water sphere point.
- Climb the building directly above it before following the exit chain.
- Move behind the statue.
- Follow the long platform extending behind a pillar to reach the frog.
Use the statue as your reference point if the upper structure feels confusing. The hidden platform continues behind it.
Frozen Tundra: Tallest Rear Platform
This frog sits on the tallest platform at the back of the large main area reached after activating the first bell.
- Activate the first bell and enter the main area.
- Locate the tallest platform at the rear.
- Line up with the ramp leading toward it, using the large building behind you to orient yourself.
- Back up to give yourself room to accelerate.
- Approach the ramp at full speed and jump onto the platform.
Give yourself a longer run-up if you fall short. This location calls for momentum before takeoff.
Sacred River: Left-Hand Cliffside Boat
Watch for the large boat raised out of the water. This sequence activates water and a chain leading onward.
- Reach the raised-boat landmark and activate the route.
- Pause before heading up the chain.
- Look back toward the cliff on the left for another boat.
- Make your way onto that cliffside boat to find the frog.
Keep the two boats distinct: the large raised boat marks the progression event; the smaller cliffside boat holds the collectible.
Boiling Cabin: Right-Hand Cliffside Boat
The final frog is near a large door opened with a water orb, relatively early in this area.
- Bring a water orb to the large door and open it.
- Stay outside instead of passing through.
- Look up and to the right for a boat against the cliff.
- Make your way up to the boat to find the frog.
Check the right-hand cliff before crossing the doorway so you don’t rush past the detour.
Use Collectible Trackers for Cleanup
The September 19, 2025 PC update added a collectible tracker to chapter select and another to the pause screen in New Game Plus. It also fixed an issue that could display collected-item counts incorrectly and interfere with an associated trophy.
 Image: Nintendo
Use chapter select’s tracker to focus your return visits on chapters with missing collectibles. In New Game Plus, consult the pause-screen tracker while exploring, then search the relevant ledges, rooftops, and boats using the landmarks above.
Continue with
 Sword of the Sea Boiling Cavern: All Shells & SecretsFind every Sword of the Sea Boiling Cavern shell, all three stele, and the Frog Skeleton. Follow the route and learn how to finish your shell collection.
More in Maps
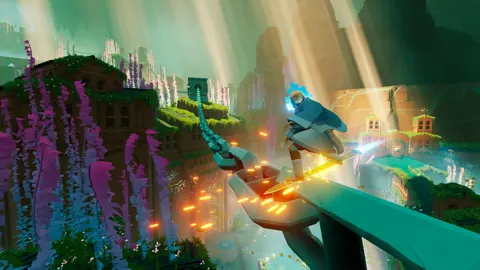
Sword of the Sea Forbidden Valley: Shell & Water Guide
Explore Sword of the Sea forbidden valley, find its hidden shell, restore every water point, and follow the dolphin route without missing the final detour.
Sword of the Sea Frozen Drifts: Shell and Water Guide
Find the Sword of the Sea frozen drifts shell, activate hidden water points, and navigate the shark route to earn both chapter trophies before moving on.
Continue exploring
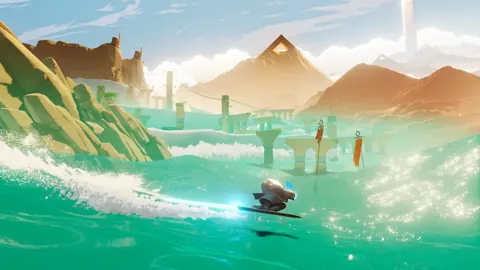
Sword of the Sea New Game Plus: Unlocks and Carryover
Sword of the Sea new game plus adds Wisp boosts and carries over your skills and Tetra. Learn how to unlock it, track shells, and earn replay trophies.
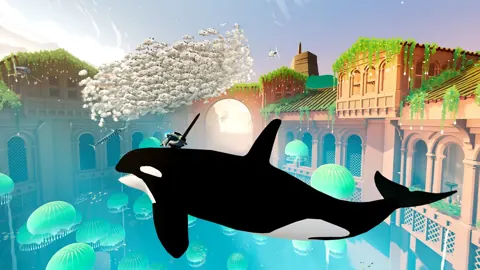
Sword of the Sea Reddit: Gameplay, Tips, and Fixes
Looking for Sword of the Sea reddit tips? Explore Hoversword gameplay, the Elasmosaur Rider trophy route, collectible trackers, and important patch fixes.
Join the community
Official channels for news, updates and player help: